H
ere, we will create an iOT that would be a demo for how we can control our home appliances over
Internet
from anywhere in the world. It is very easy to control them, just by using some programing languages and some
hardwares.
In this article, we will learn to control a LED over Internet.
If you want to create a demo with an arduino circuit board and nodejs then you should read this article to get the basic understanding of arduino circuit board and the nodejs. Also you will get the idea about how we can connect the arduino circuit board with nodejs.
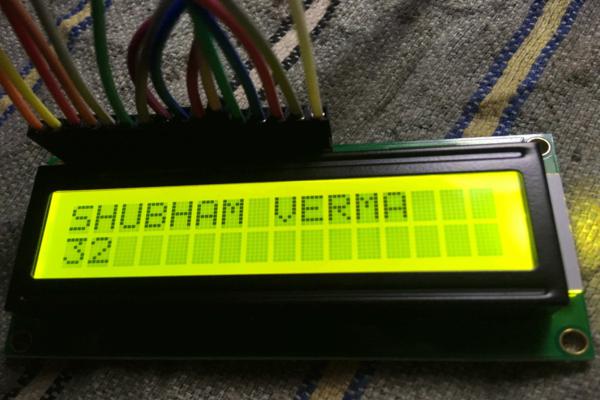
Internet Of Things ( iOT ):
Source: idkblogs.com
Let’s Start
First you need to go through site https://www.pubnub.com/ and Register on https://www.pubnub.com/. You need to Create an app and get the API keys ( Publish Key, Subscribe Key , Secret Key ) on https://www.pubnub.com/
You need following things:
A laptop ( Installed Nodejs, Angular CLI, NPM, Arduino IDE ), LED, Register, Arduino KIT, Wires from https://www.pubnub.com/
let's follow the steps.
Step 1: Create a LED object using hardwares as in below image:
If you are worried about the circuit board connections, then you should read this article first. After that, you should read this current article.
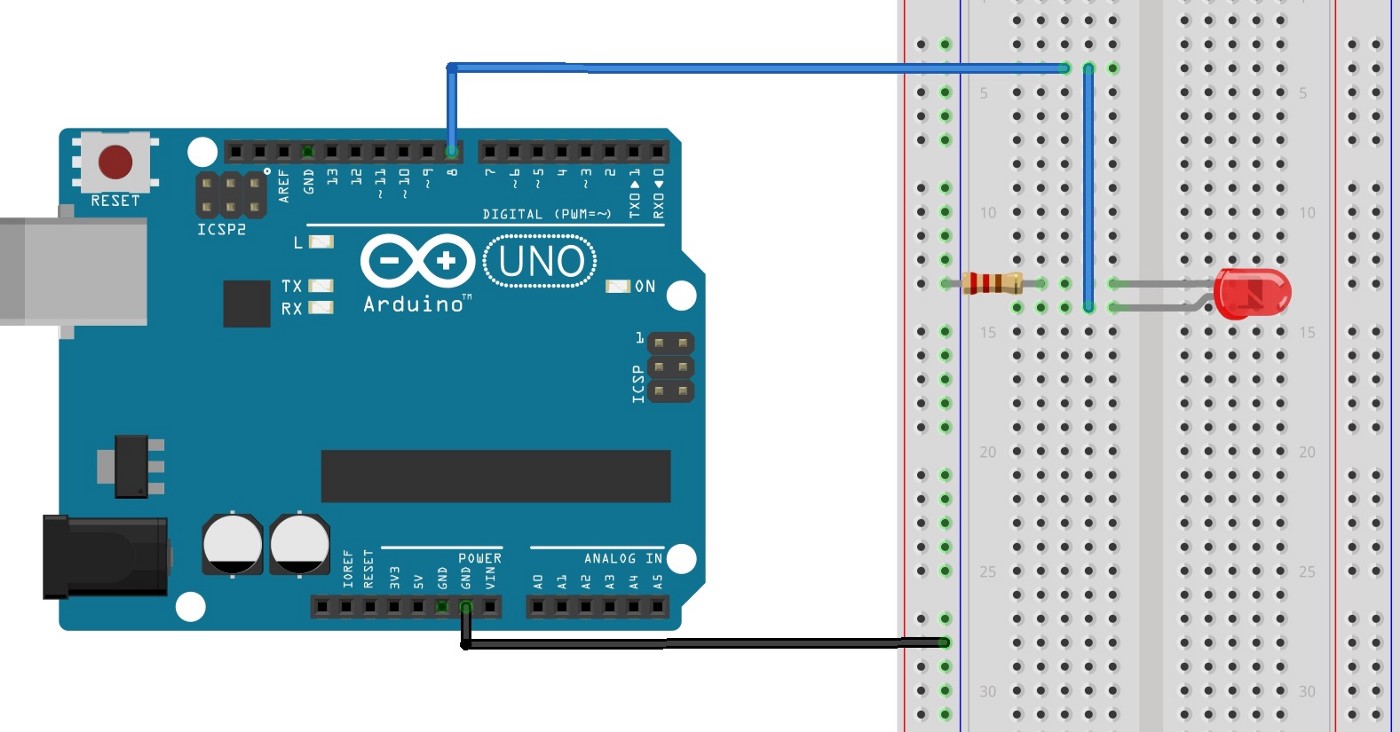
Source: idkblogs.com
Remember,In the above circuit , your LED is connected with PIN 8 and GND.
Now connect to the laptop via USB arduino wire connector.
Open your arduino IDE, upload firemata library to your arduino kit. Click here to know how to upload firemata.
Step 2: Create a client with HTML and Angular 4:
Create a client project, name client_control using below command:
ng new client_control
Source: idkblogs.com
After successful command "ng new client_control", You can see a project is created with name client_control.
Now inside this project directory create a file name server.js this is a starter file.
This server.js file will be responsible to start the client where we'll write our logic to control the client. In this server.js
write the below codes:
server.js:
                        const express = require('express');
                        const cors = require('cors');
                        const http = require('http');
                        const path = require('path');
                        const config = require('config');

                        const app = express();

                        app.use(cors());

                        app.use(express.static(path.join(__dirname, 'dist')));
                        app.get('*', (req, res) => {
                          res.sendFile(path.join(__dirname, 'dist/index.html'));
                        });

                        const port = 8080;
                        app.set('port', port);
                        const server = http.createServer(app);

                        server.listen(port, () => console.log(`Arduino client is running on port:${port}`));
Now open your app.component.html file ( src>app>app.component.html ) and copy below code and paste/replace it into app.component.html file.
Now open your index.html file ( src>index.html), replae its whole code with below written code:
Now create another file with name package.json and copy below code and paste it into your package.json file:
Step 3: After above process, open terminal/CMD and navigate to your project location. run below command :
npm installThe npm install command will install all the dependencies required to your project.
Step 4 : Run the client using below command:
ng buildnode server.jsIf your client is running successfully then you can see below message into your terminal/CMD:
arduino client is running on port:8080After this open your browser and hit below URL:
http://localhost:8080And you can see a web page with on off controls. ( you will on & off LED with these controls )
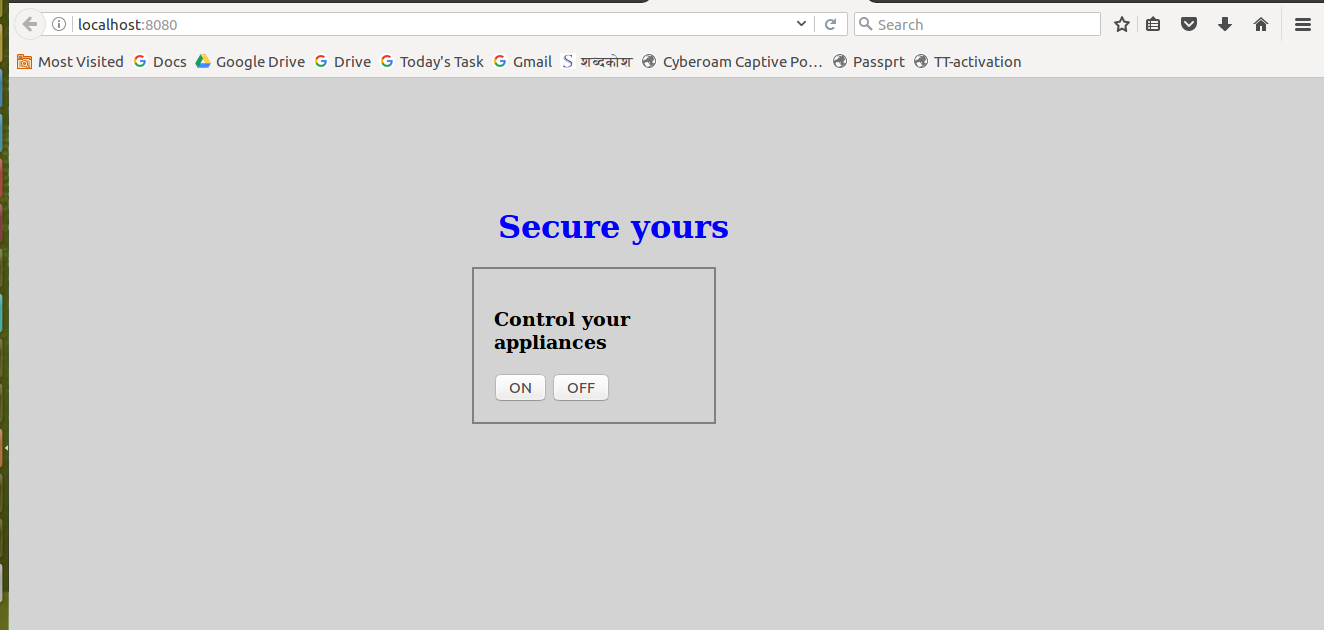
Source: idkblogs.com
Step 5: Create a node server app:
This server will be our main server, we can control our client using this server, This server will send the control according to on of control to the arduino kit, and your arduino kit will
according to value sent by client.
* Create a directory for node server with name, arduino_server
* Create a file name index.js and paste into below code:
                          var five = require('johnny-five');
                          var board = five.Board();

                          board.on('ready', function () {
                            var pubnub = require('pubnub').init({
                              publish_key: 'YOUR_PUBLISH_KEY',
                              subscribe_key: 'YOUR_SUBSCRIBE_KEY'
                            });

                            var channel = 'hue-clone'; // same channel name used in client
                            var led8;
                            pubnub.subscribe({
                              channel: channel,
                              callback: setLedColor,
                              connect: initLedColor,
                              error: function (err) {
                                console.log(err);
                              }
                            });

                            function setLedColor(receivedObj) {
                              console.log("receivedObj :", receivedObj);
                              if (receivedObj.led_status === 1) {
                                console.log("ON");
                                led8.on();
                              }
                              if (receivedObj.led_status === 0) {
                                console.log("OFF");
                                led8.off();
                              }
                            }

                            function initLedColor() {
                              led8 = new five.Led(8);
                              led8.off();
                              console.log("Arduino server is running now.");
                              console.log("Initilization, first call function");
                            }
                          });
Now create another file with name package.json and write the below codes into your package.json file:
                          {
                            "name": "arduino-led-rgb",
                            "version": "2.0.0",
                            "description": "Poor man's Hue",
                            "main": "index.js",
                            "scripts": {
                              "test": "echo \"Error: no test specified\" && exit 1"
                            },
                            "author": "Tomomi Imura",
                            "license": "MIT",
                            "dependencies": {
                              "johnny-five": "^0.9.62",
                              "pubnub": "^3.16.5"
                            }
                          }
After completing the package.json, open terminal/CMD and navigate to your project location. run below command :
npm installThe npm install command will install all the dependencies required to your project.
Run the client using below command:
ng buildAfter "ng build" run below command:
node index.jsIf your arduino server is running successfully then you can see below message into your terminal/CMD:
Arduino server is running now.After this open your browser and hit below URL:
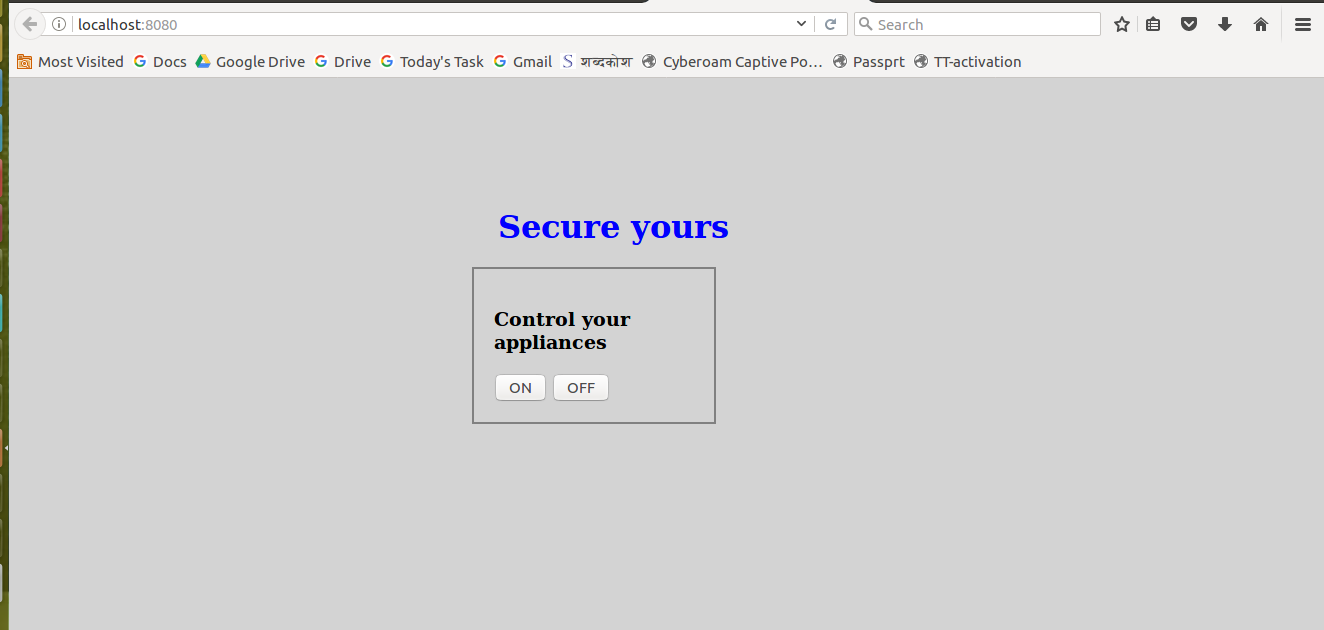
http://localhost:8080And you can see a web page with on off controls. ( you will on & off LED with these controls ).
Source: idkblogs.com
Here you go, Now you can do trurn ON and turn OFF the LED using this UI control.
If you want to access this control on remote computer then just connect arduino client and arduino server under the same network ( wifi/Internet/Bluetooth ) and open following URL into any browser.
http://YOUR_IP:8080That’s it.
Conclusion:
In this article, we learned about the iOT and how we can connect arduino circuit board with nodejs and how to write program in
nodejs for
arduino circuit board.
Also we learned the pin connection of arduino circuit board and we created an iOT app that can be controlled over
Internet
from anywhere.
Support our IDKBlogs team
Creating quality content takes time and resources, and we are committed to providing value to our
readers.
If you find my articles helpful or informative, please consider supporting us financially.
Any amount (10, 20, 50, 100, ....), no matter how small, will help us continue to produce
high-quality content.
Thank you for your support!
Thank you
I appreciate you taking the time to read this article. The more that you read, the more things you will know. The more that you learn, the more places you'll go.
If you’re interested in Node.js or JavaScript this link will help you a lot.
If you found this article is helpful, then please share this article's link to your friends to whom this is required, you can share this to your technical social media groups also.
You can follow us on our social media page for more updates and latest article updates.
To read more about the technologies, Please
subscribe us, You'll get the monthly newsletter having all the published
article of the last month.


