Implement RabbitMQ step by step in NestJS application
RabbitMQ, a powerful message broker widely used in modern applications, offers robust messaging capabilities that can enhance the scalability and resilience of your NestJS applications. Integrating RabbitMQ with NestJS allows you to build highly decoupled, asynchronous systems that can handle complex workflows efficiently. In this article, we'll explore how to integrate RabbitMQ step by step into a NestJS application.
Prerequisites
Before diving into RabbitMQ integration, ensure you have the following:Node.js and NestJS: Make sure Node.js and NestJS are installed on your development machine. You can install NestJS globally using npm:
RabbitMQ Server: Install RabbitMQ locally or use a cloud-based service like RabbitMQ on Cloud if you prefer.
HeadingH3
Step 1: Setting Up a NestJS Project
If you haven't already set up a NestJS project, create one using the NestJS CLI: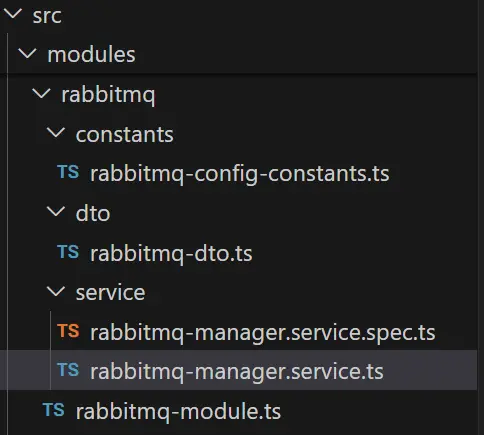
Implement RabbitMQ step by step in NestJS application
Step 2: Install RabbitMQ Client for NestJS
NPM provides a module amqp-connection-manager that integrates seamlessly with RabbitMQ. Install it along with the RabbitMQ transport amqplib:Step 3: Create RabbitMQ config
src\modules\rabbitmq\constants\rabbitmq-config-constants.tsStep 4: Create DTOs
src\modules\rabbitmq\dto\rabbitmq-dto.tsStep 5: Create RabbitMQ Producer Service
Create a service to publish messages to RabbitMQ. src\modules\rabbitmq\service\rabbitmq-manager.service.tsStep 6: Configure RabbitMQ Module
In your NestJS application module rabbitmq-module.ts, configure the RabbitMQ module:File: src\modules\rabbitmq\rabbitmq-module.ts
Step 7: Use RabbitMQModule in different module
Go to that module for example src\modules\example\example.module.ts and import the RabbitMQModule module.Step 8: Publish Message in RabbitMQ
Now you can use the any service of example.module.ts to publish the messages in RabbitMQ:src\modules\rabbitmq\service\rabbitmq-manager.service.ts
Step 9: Verify in RabbitMQ
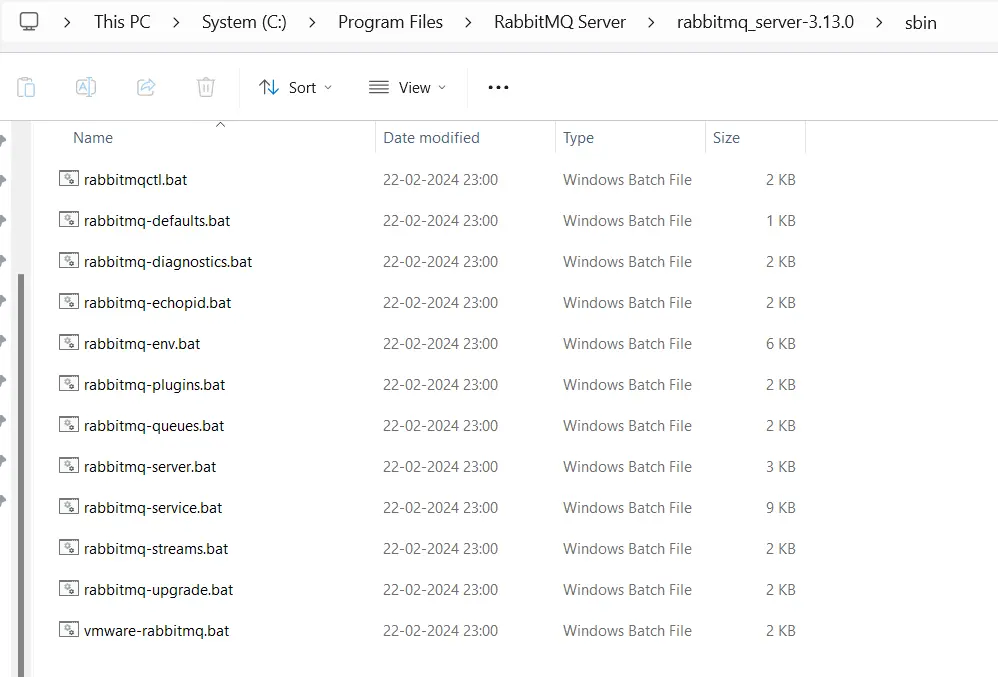
I am running RabbitMQ in windows machine and here RabbitMQ installed.C:\Program Files\RabbitMQ Server\rabbitmq_server-3.13.0\sbin
Implement RabbitMQ step by step in NestJS application
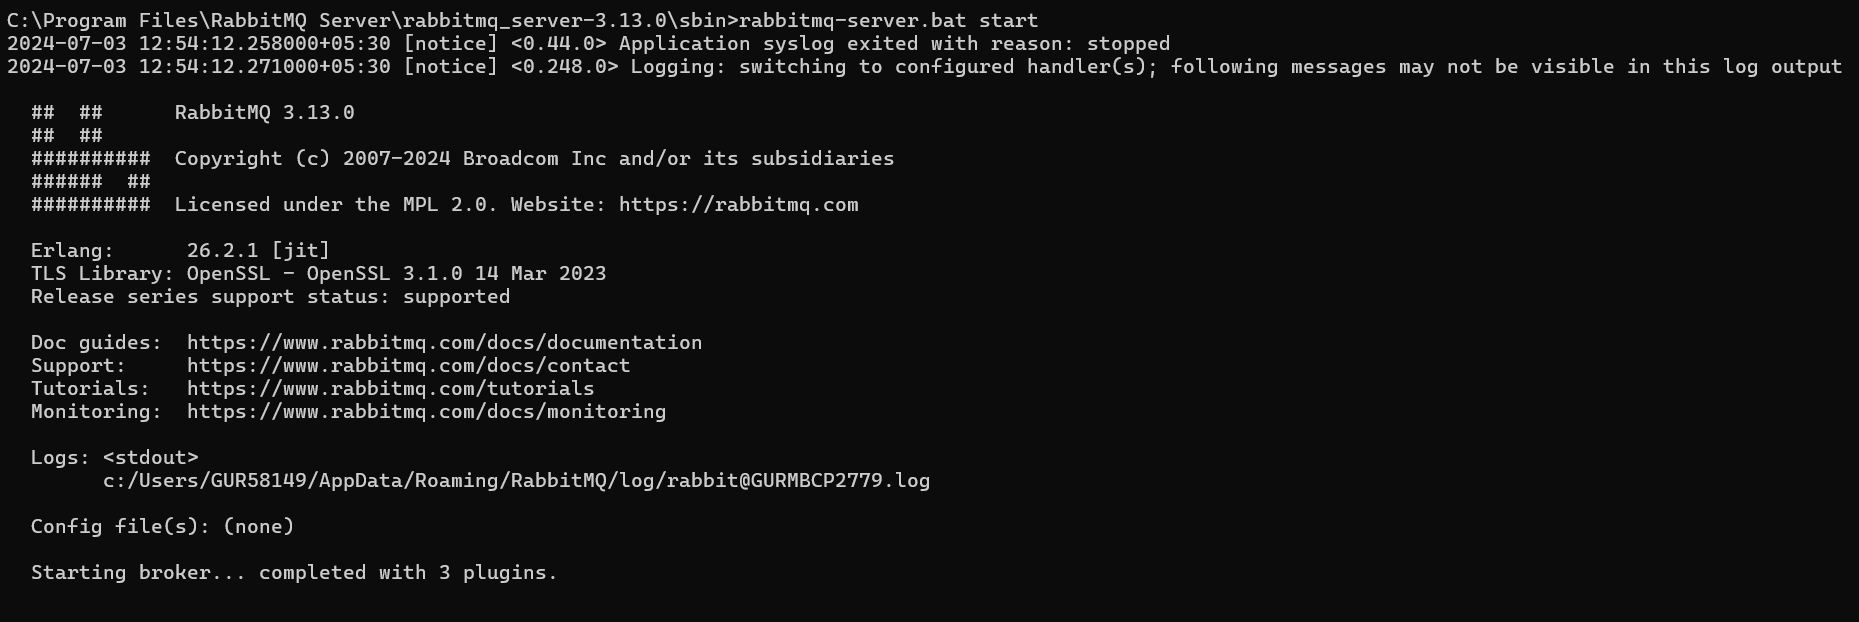
We need to start the RabbitMQ in local using below commands inside the directory "C:\Program Files\RabbitMQ Server\rabbitmq_server-3.13.0\sbin":

Implement RabbitMQ step by step in NestJS application
Implement RabbitMQ step by step in NestJS application
Now open URL http://localhost:15672/ and enter login details. By default username and password are "guest".

Implement RabbitMQ step by step in NestJS application
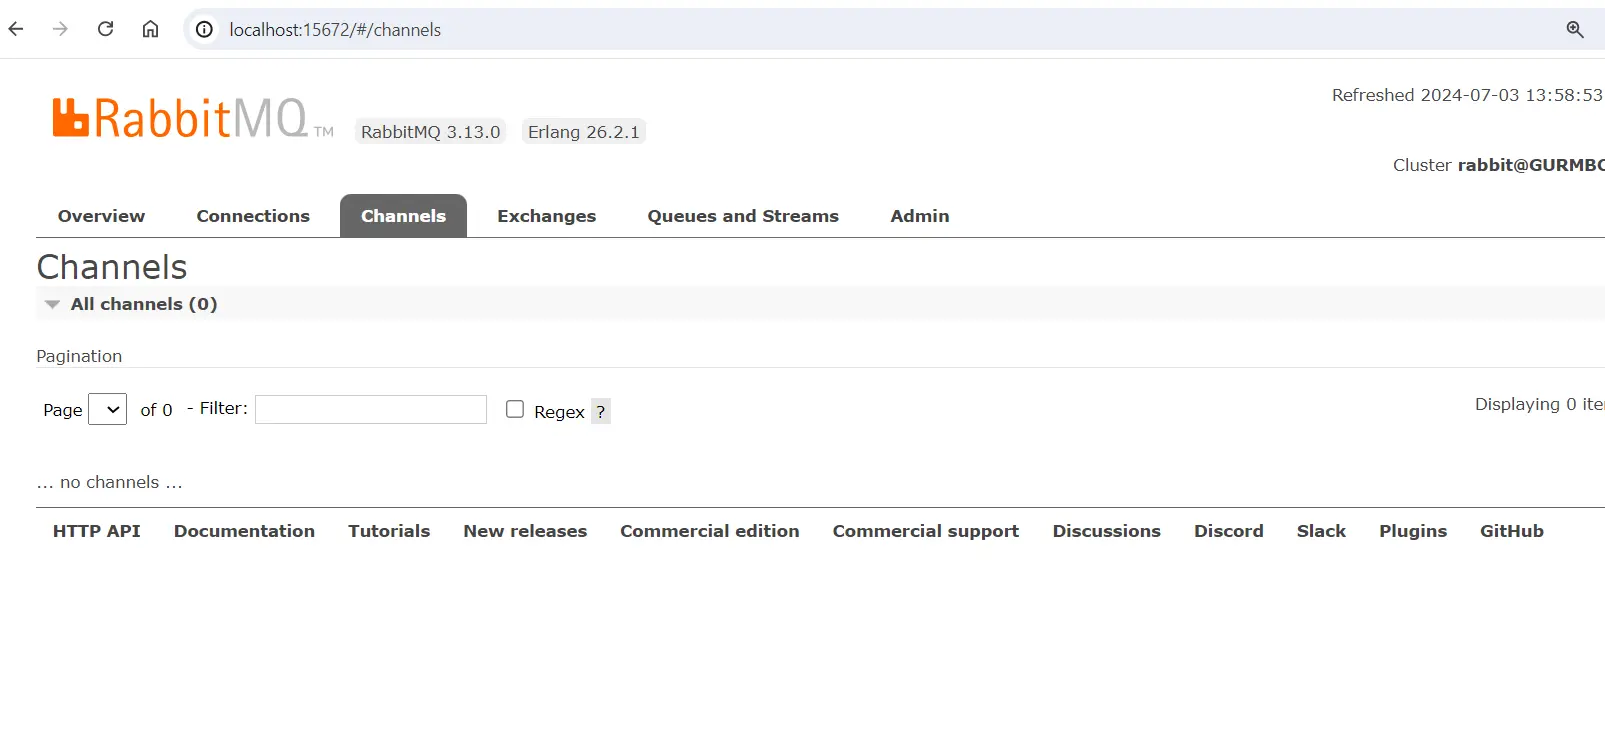
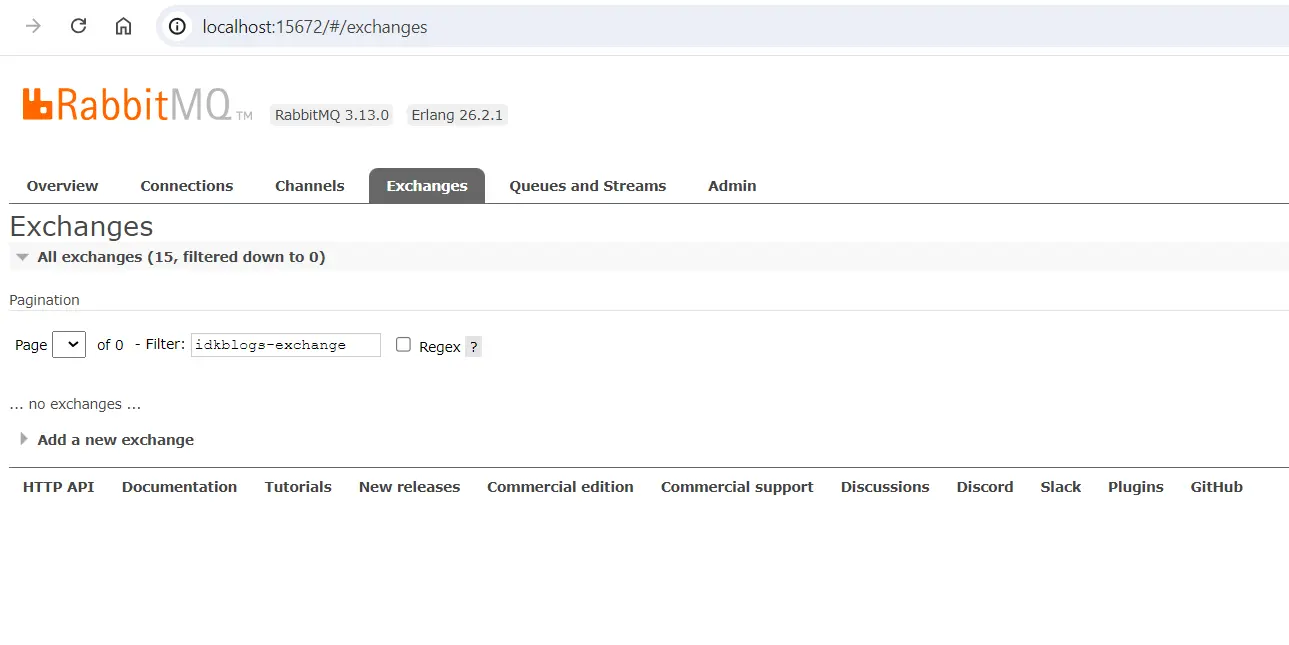
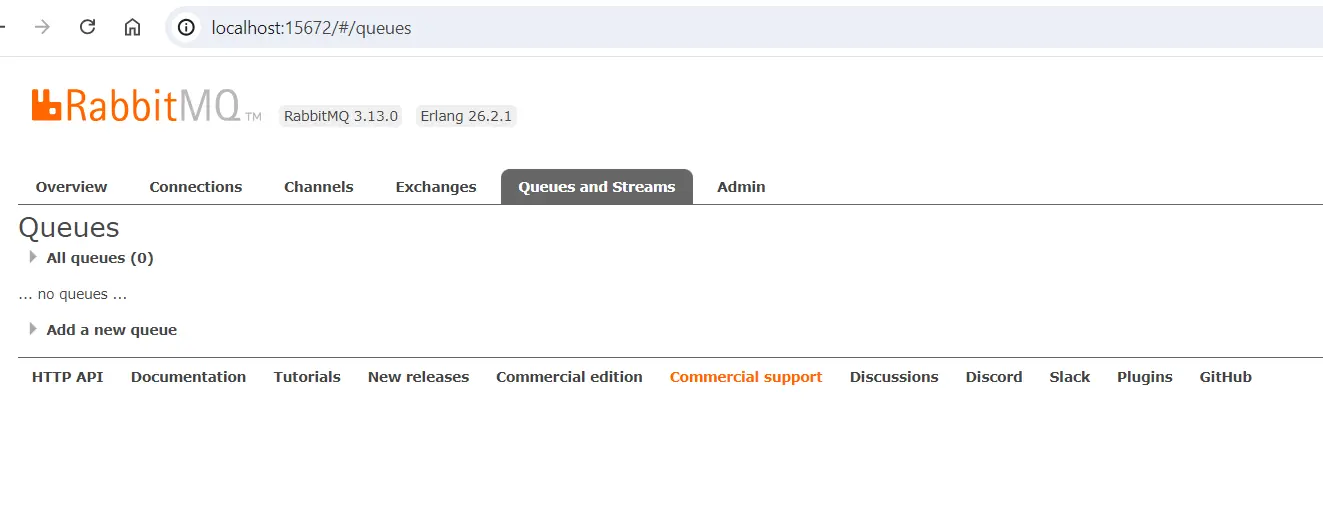
Before publishing the message, you can see nothing: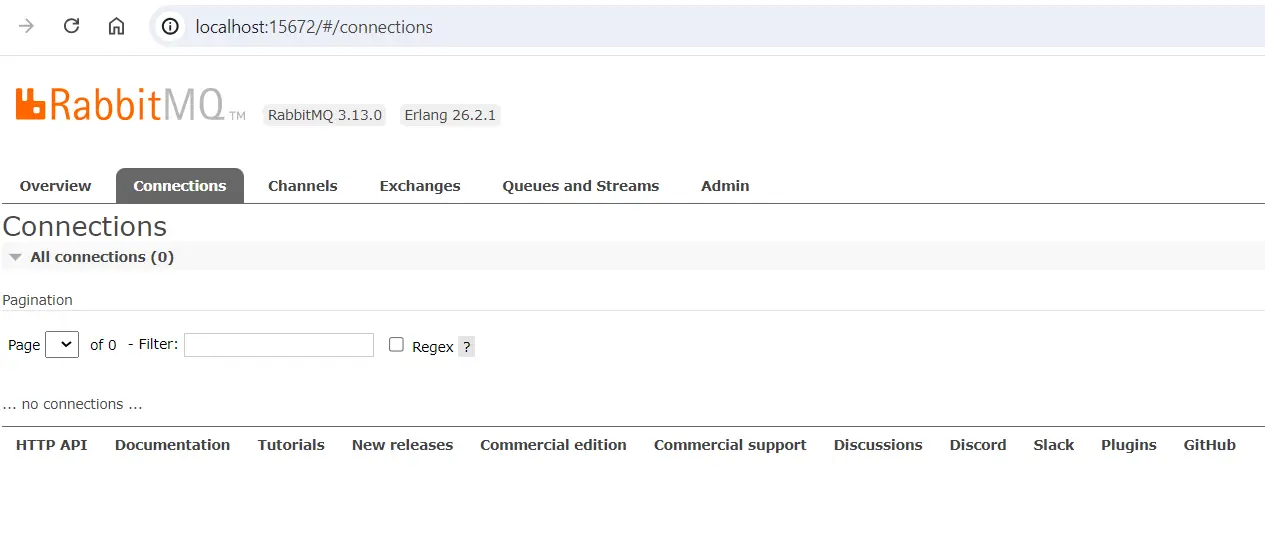
Implement RabbitMQ step by step in NestJS application
Implement RabbitMQ step by step in NestJS application
Implement RabbitMQ step by step in NestJS application
Implement RabbitMQ step by step in NestJS application
Now execute your codes and you will get your message published in your RabbitMQ:
Connection successful:
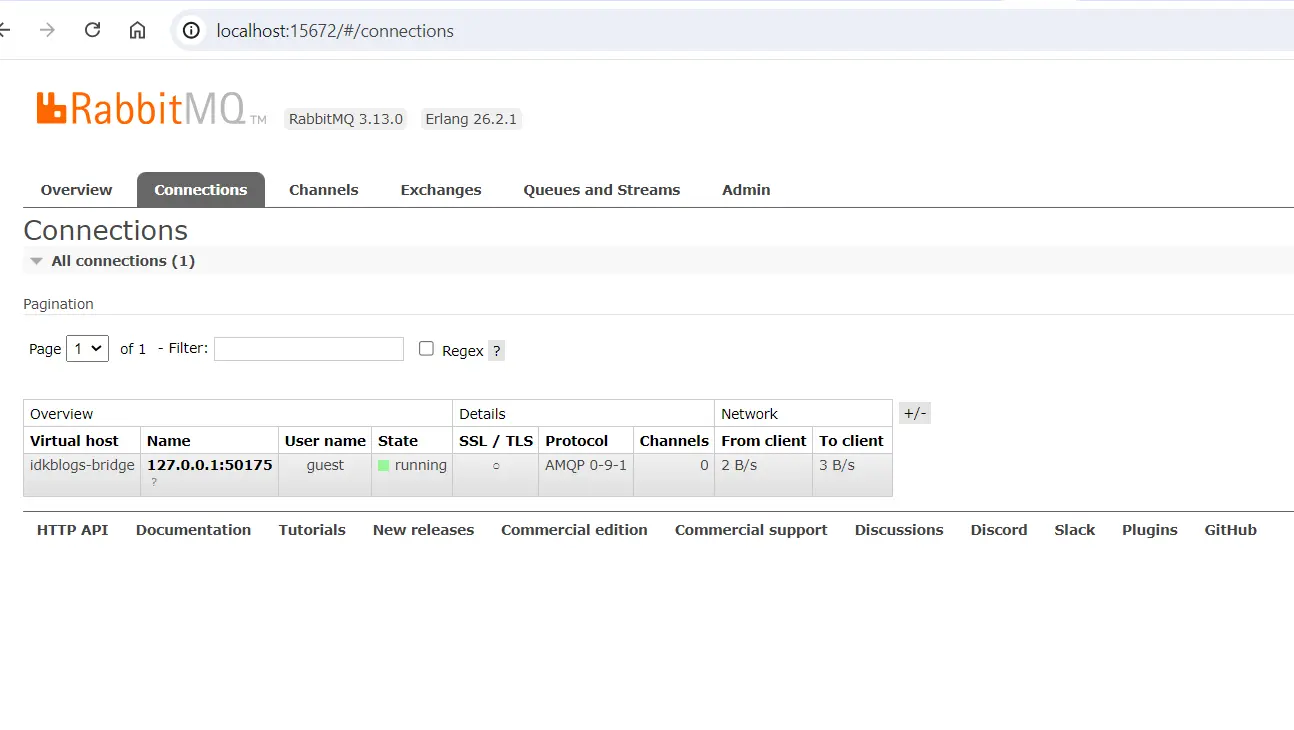
Implement RabbitMQ step by step in NestJS application
Channel Created:
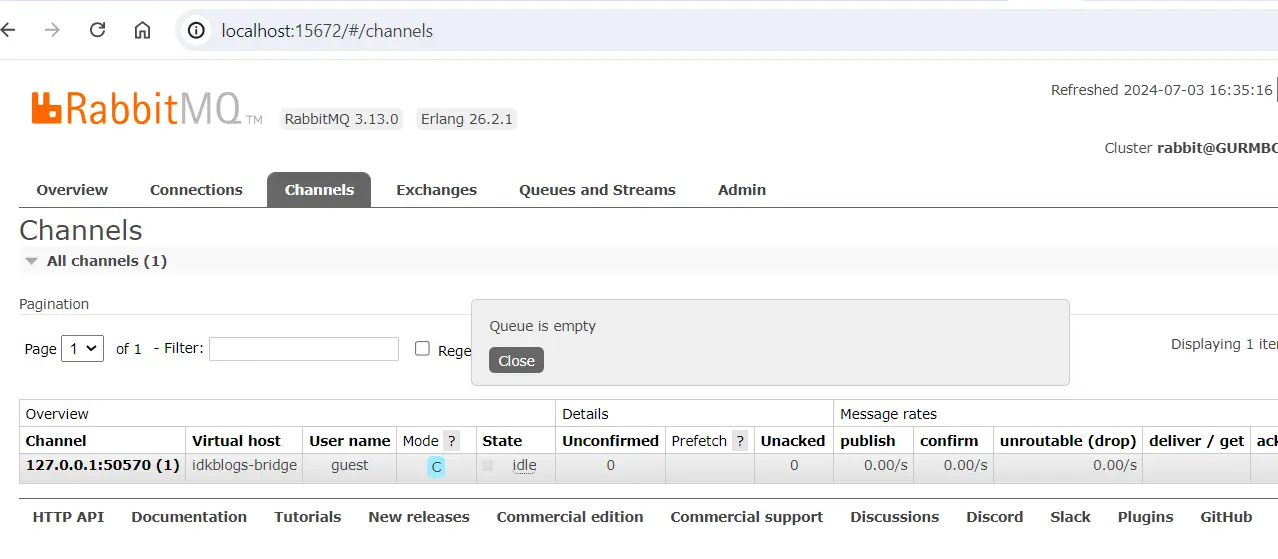
Implement RabbitMQ step by step in NestJS application
Exchange Created:
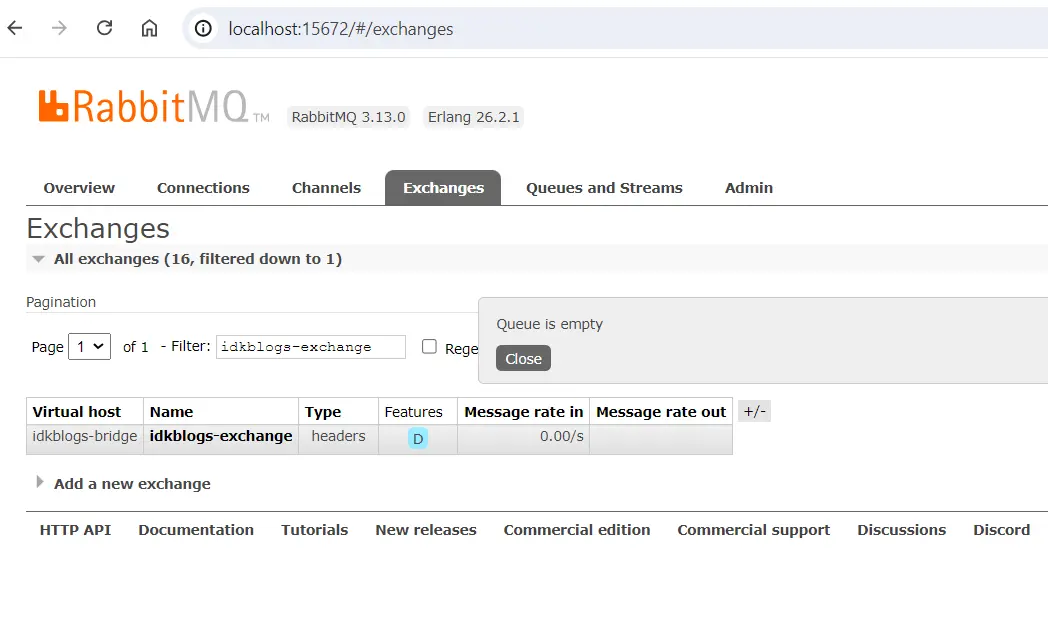
Implement RabbitMQ step by step in NestJS application
After executing the code you can see the graph, it will denote that before some time, there was a message published.
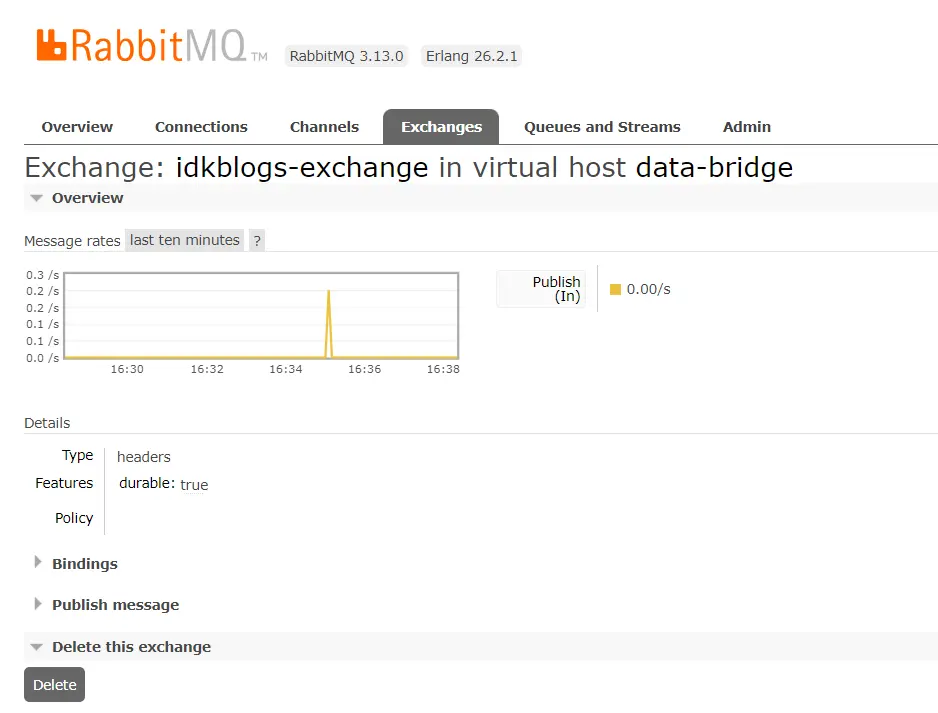
Implement RabbitMQ step by step in NestJS application
Step 9: How to see published messages in RabbitMQ
Because we don't have subscribers to subscribe the message, so we need to create a queue to see the message.Click on "Queues and streams" from nav bar -> Click on "Add new queue" -> Select Virtual host "idkblogs-bridge" -> Provide name "idkblogs-queue" and click on "Add Queue"
This will add a queue in RabbitMQ.
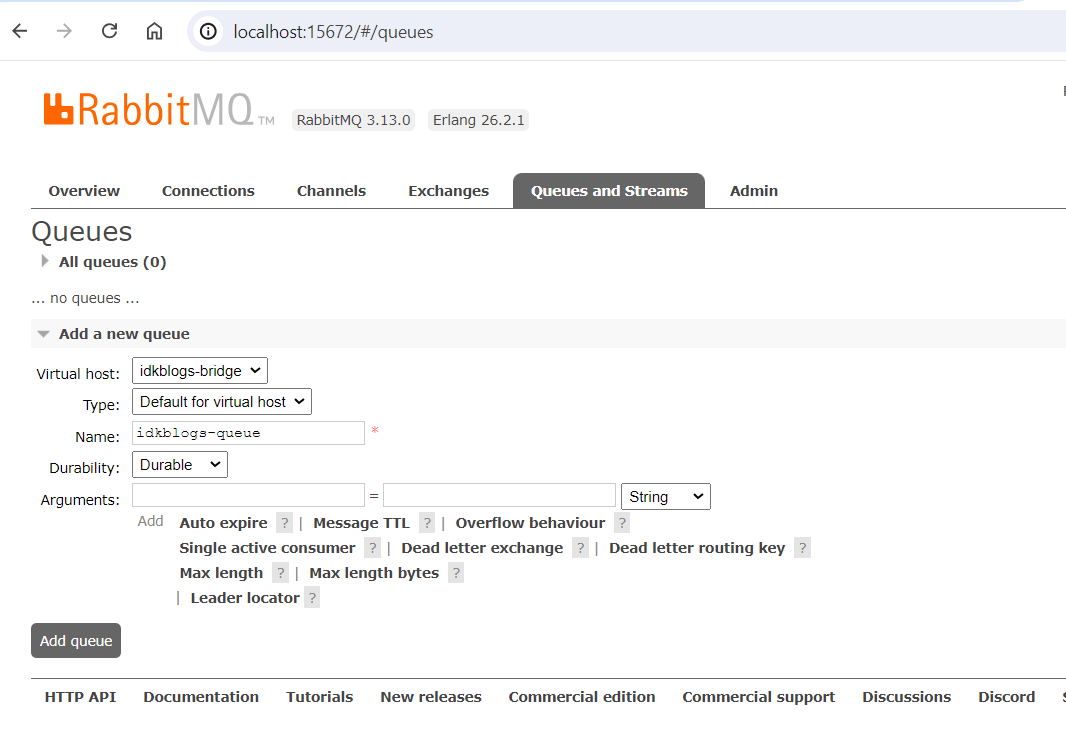
Implement RabbitMQ step by step in NestJS application
Once you will add your queue, you can see in the list.
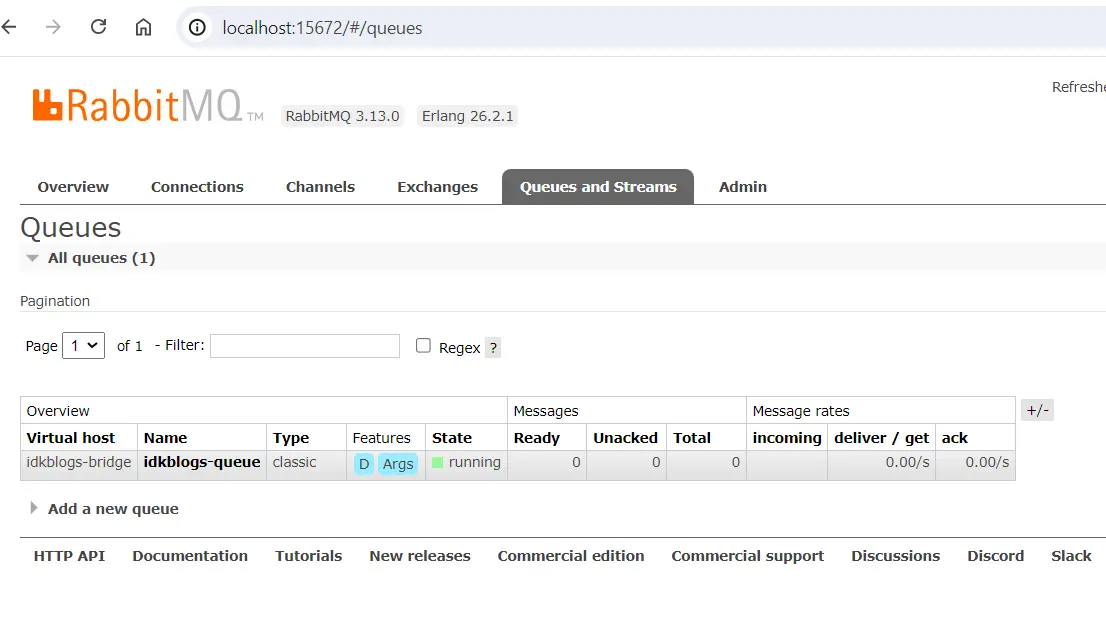
Implement RabbitMQ step by step in NestJS application
Now bind the queue with your exchange: If you execute the code, it should be created an exchange, you need to go to the exchange details and add the queue name in "To queue".
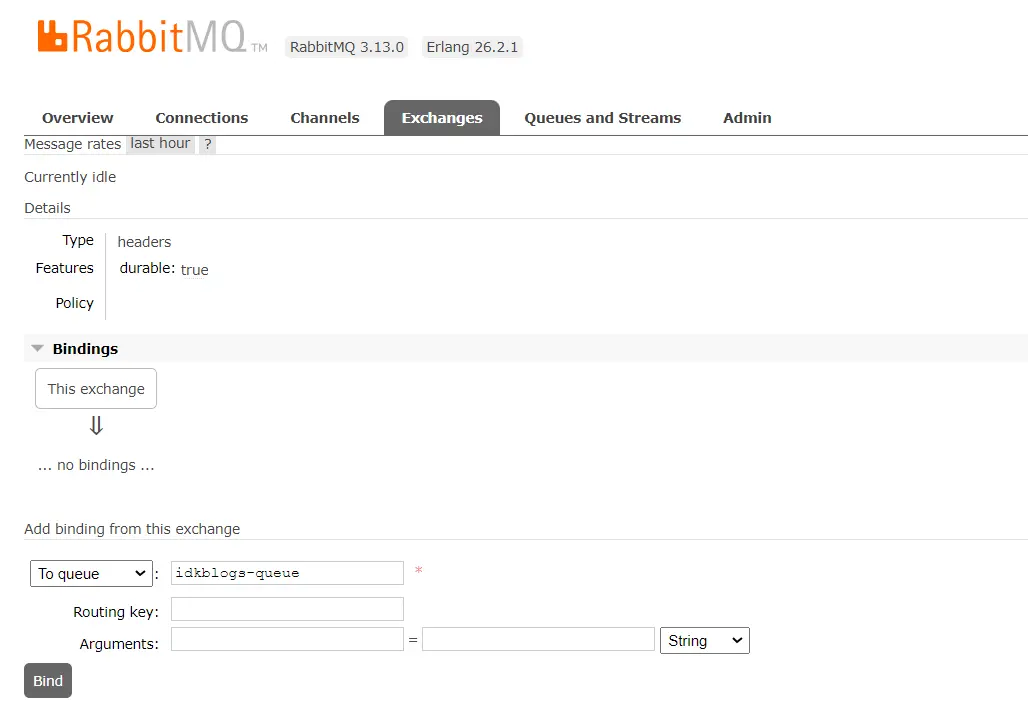
Implement RabbitMQ step by step in NestJS application
After successfully bind the exchange with queue: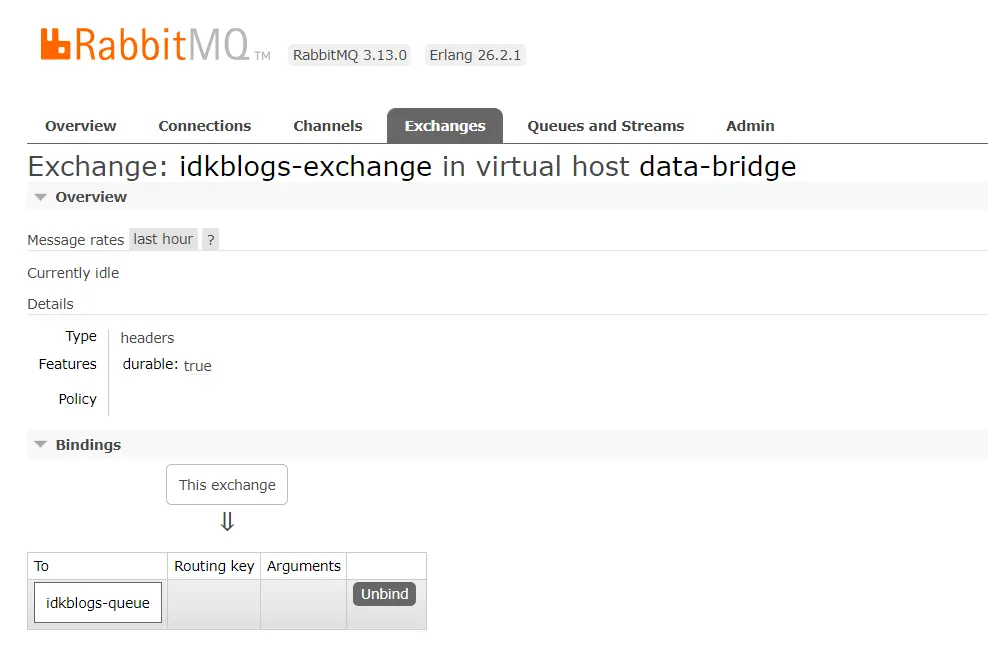
Implement RabbitMQ step by step in NestJS application
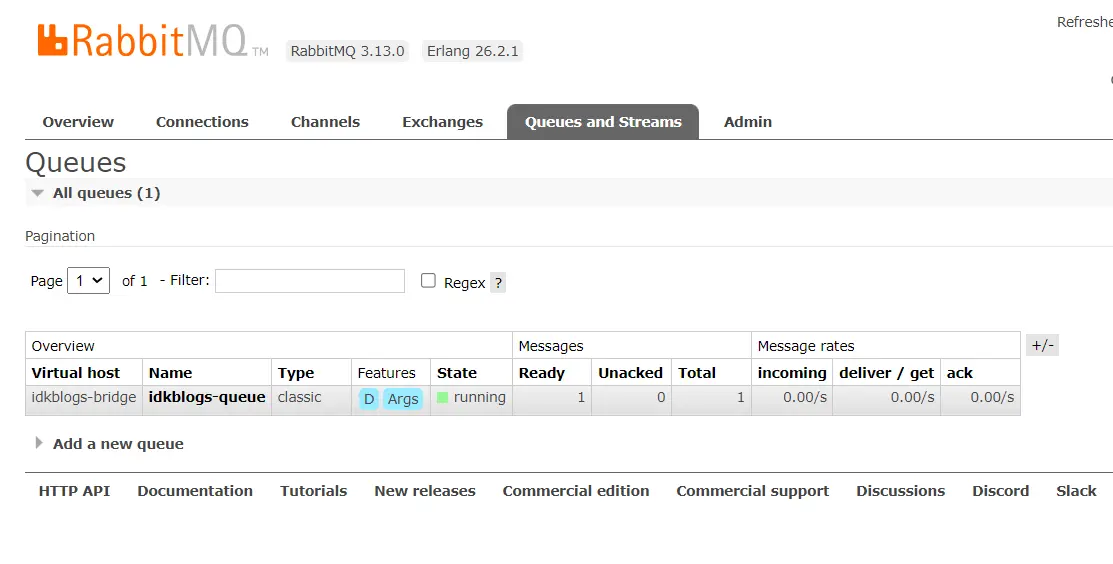
Now execute the code and publish message again, You can see there is 1 message ready to subscribe. now click on the queue and get the message.
Implement RabbitMQ step by step in NestJS application
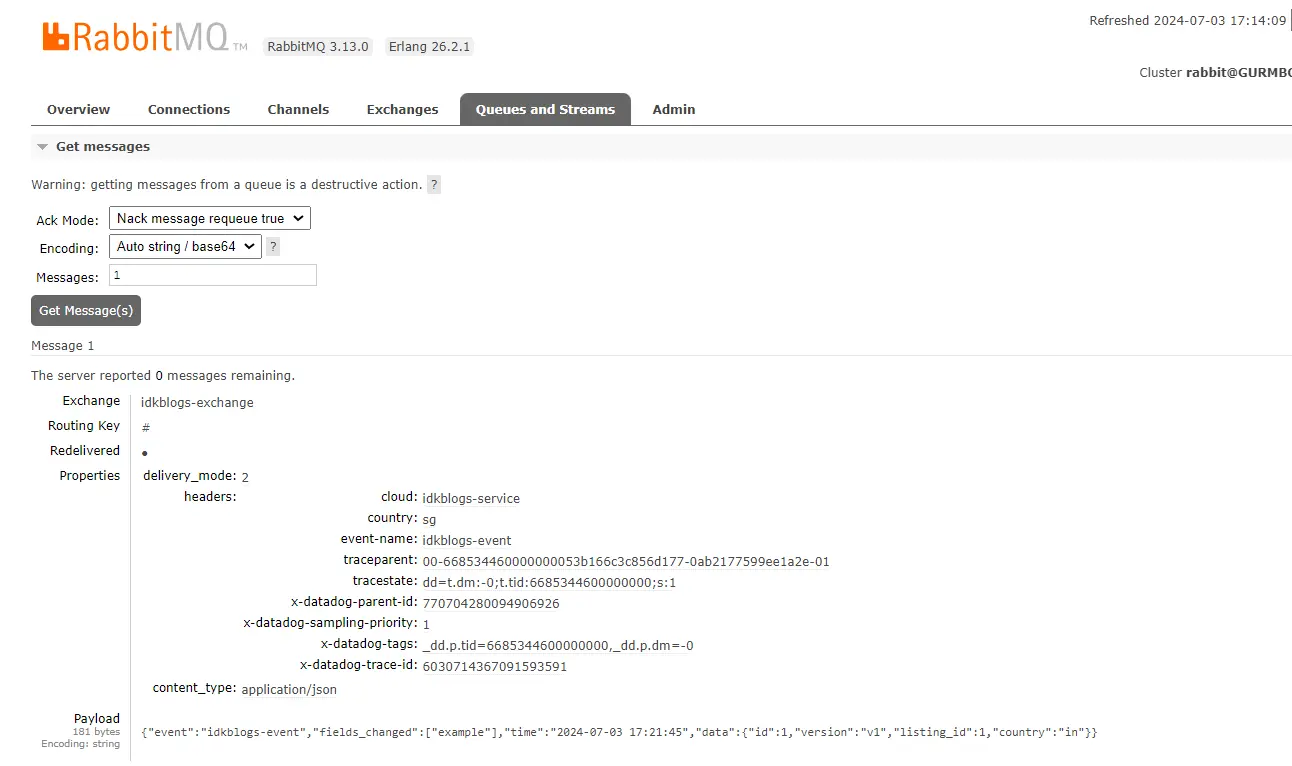
See actual published Message by clicking on "Get Message" button.
Implement RabbitMQ step by step in NestJS application
Conclusion:
Integrating RabbitMQ with NestJS provides a powerful mechanism for building scalable, asynchronous applications. By following these steps, you can implement RabbitMQ in your NestJS application and leverage its capabilities for handling distributed messaging effectively. RabbitMQ's flexibility and reliability make it a great choice for modern microservices architectures, ensuring seamless communication between different parts of your application. Experiment with different RabbitMQ configurations and explore advanced features such as message acknowledgment, routing, and clustering to tailor the setup to your specific requirements. Happy coding with RabbitMQ and NestJS!Related Keywords:
Beginner's Guide to RabbitMQ Integration in NestJS
Building Asynchronous Systems with RabbitMQ and NestJS
Step-by-Step Tutorial: RabbitMQ Integration in NestJS
Mastering RabbitMQ Integration in Your NestJS Application
Efficient Messaging: RabbitMQ Integration with NestJS Explained
Complete Walkthrough: RabbitMQ Setup in NestJS Application
Support our IDKBlogs team
Creating quality content takes time and resources, and we are committed to providing value to our
readers.
If you find my articles helpful or informative, please consider supporting us financially.
Any amount (10, 20, 50, 100, ....), no matter how small, will help us continue to produce
high-quality content.
Thank you for your support!
Thank you
I appreciate you taking the time to read this article. The more that you read, the more things you will know. The more that you learn, the more places you'll go.
If you’re interested in Node.js or JavaScript this link will help you a lot.
If you found this article is helpful, then please share this article's link to your friends to whom this is required, you can share this to your technical social media groups also.
You can follow us on our social media page for more updates and latest article updates.
To read more about the technologies, Please
subscribe us, You'll get the monthly newsletter having all the published
article of the last month.
