I
n this article, we will learn how we can integrate google APIs in our angular2+ web app using 'googlemaps' module and we'll display the google map in our app. we will add CDN index.html with google API key. First we need to get the google API key, keep this google API key handy to you. Let's start.
Create an angular2+ app:
First we need to create an app using "ng new" command, let's create an app using below command:
ng new drag-and-dropcd drag-and-dropnpm installAfter successful "npm install" your angular demo app is created, Now open your terminam/CMD and locate your project root and follow the below steps:
Install googlemaps:
To use google APIs in our component, we need to install a npm modeule "@types/googlemaps". So install this module using below command:
npm install @types/googlemaps — saveThe bove command will install the "googlemaps" in your app and make an entry in your package.json file.
Add CDN into your index.html with correct google API key ( Don’t forget it ):
Now we need to add the CDN link in your app's index.html file which is in the root location. Now add below CDN in your insex.html and don't forget to replace your "YOUR_GOOGLE_API_KEY" with keys.
Add below line to your html where you want to add google map:
This time we need to add the "#googleMap" in your "map.component.html" file
Now create the map.component.ts and follow the steps
Now you add below code into your angular component (map.component.ts):
                    import { Component, ViewChild } from ‘@angular/core’;
                    import { } from ‘@types/googlemaps’;

                    @Component({
                      selector: ‘map- component’,
                      templateUrl: ‘./map.component.html’,
                     styleUrls: [‘./ map.component.css’]
                     })

                     export class MapComponent {

                      @ViewChild(‘googleMap’) gmapElement: any;

                      map: google.maps.Map; ngOnInit() {

                        var mapProp = {
                          center: new google.maps.LatLng(28.4595, 77.0266),
                          zoom: 14,
                          // mapTypeId: google.maps.MapTypeId.ROADMAP
                          mapTypeId: google.maps.MapTypeId.HYBRID
                          // mapTypeId: google.maps.MapTypeId.SATELLITE
                          // mapTypeId: google.maps.MapTypeId.TERRAIN
                        };

                        this.map = new google.maps.Map(this.gmapElement.nativeElement, mapProp);
                        var marker = new google.maps.Marker({ position: mapProp.center });
                        marker.setMap(this.map);

                        var infowindow = new google.maps.InfoWindow({
                          content: “Hey, We are here”
                        }); infowindow.open(this.map, marker);
                      }
                    }
Congratulations !!! You did it.
This is the snapshot what you did.
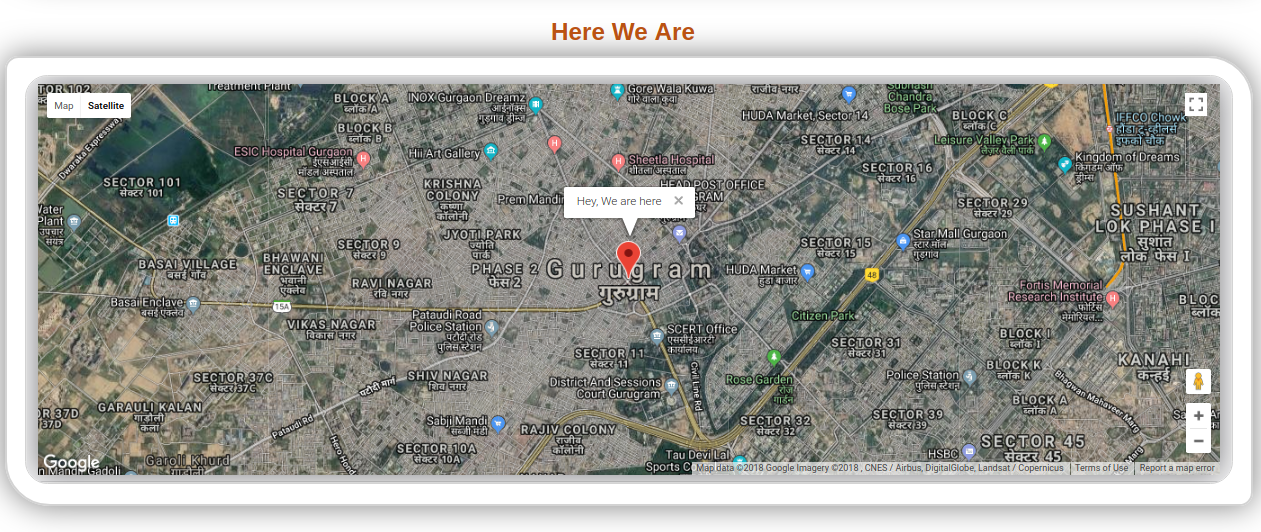
Source: idkblogs.com
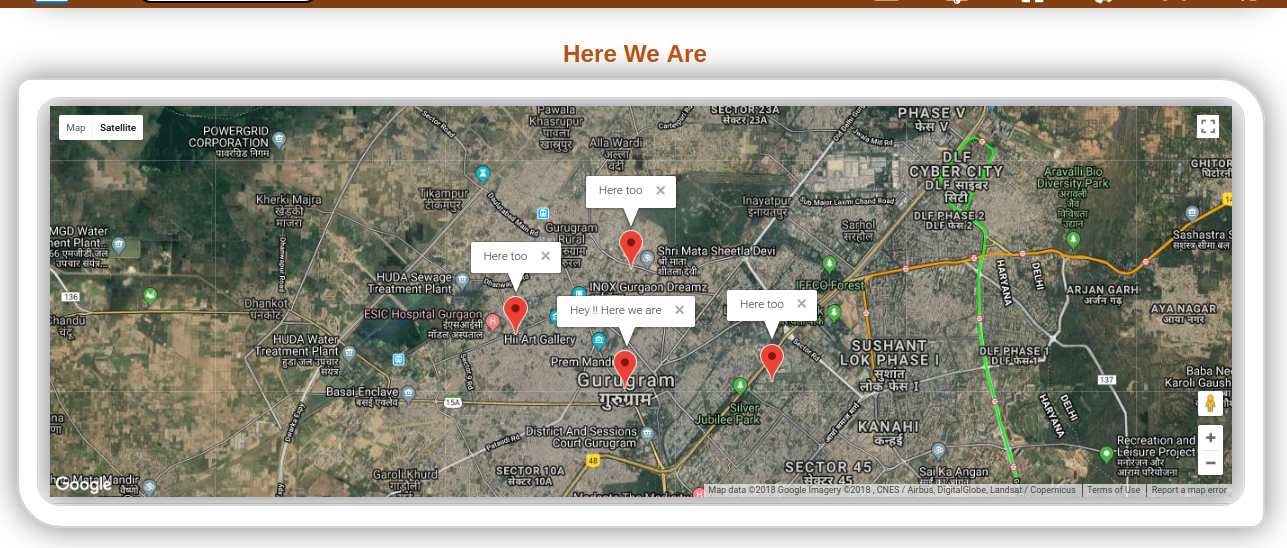
If you want to add multiple marker and its separate tooltip then click here to add multiple marker and its separate tooltip
Multiple marker and its separate tooltip snapshot:
Source: idkblogs.com
Conclusion:
In this article, we learned how we can integrate google map in our angular2+ app component and also learned how we can show the geo location in google map.
Support our IDKBlogs team
Creating quality content takes time and resources, and we are committed to providing value to our
readers.
If you find my articles helpful or informative, please consider supporting us financially.
Any amount (10, 20, 50, 100, ....), no matter how small, will help us continue to produce
high-quality content.
Thank you for your support!
Thank you
I appreciate you taking the time to read this article. The more that you read, the more things you will know. The more that you learn, the more places you'll go.
If you’re interested in Node.js or JavaScript this link will help you a lot.
If you found this article is helpful, then please share this article's link to your friends to whom this is required, you can share this to your technical social media groups also.
You can follow us on our social media page for more updates and latest article updates.
To read more about the technologies, Please
subscribe us, You'll get the monthly newsletter having all the published
article of the last month.
