Implement LaunchDarkly with NodeJS from Scratch - Feature Flags
LaunchDarkly is a Feature Flagging and Experimentation Platform. LaunchDarkly provides very easy way to handle and launch the features to your users. It helps in A/B testing of the features. You can fundamentally change how you deliver software. Using LaunchDarkly you can innovate faster, deploy fearlessly, and make each release a masterpiece.
Here we are talking more about the feature flags. So let's discuss about the feature flags.What are the feature flags?
The feature flags are basic server side flags that control the visibility of the feature to the users or for any other functionalities. This feature flags decide which part of the code should be run. It can be server side flag or client side flag.Server side flag: If the flag is managed on server end then it is called server side flag.
For example:
Client side flag: If the flag is manages on client side then it is called client side flag.
For example:
That's the kind of basic logic behind a feature flag. It enables you to easily change whether code will run and that way you can work on code without having issues.
You can do more than just simple on-off Boolean flags. You can do string flags and number flags and Jason object flags. That way you can pass configuration information and do multiple variations of flags. You can do a lot more powerful things and just say yes or no and run this code, yes or no show this feature.
Why do we need feature flags tools?
We have tons of benefits of using feature flags tools. Here are some advantages of using feature flags.-
You can use flags to improve your development workflow as you want.
-
You can reduce merge conflicts by eliminating long-running branches. So I can be working on a feature and actually even merge my code back into the main branch on a regular basis without necessarily being concerned that that code is going to run and cause problems for everybody else.
-
You can test different scenarios without making code changes.
-
You can pass values from a flag and see how this is going to work without manual code changes. I can just go in and flip the flag or flip the variation and see what the effect is going to be. I can control the availability of in-progress features to specific users, groups, and regions.
-
Only allow our testing team to while A/B testing even in production so they're the only ones who see it.
-
Easy roll out the feature, You can roll it out to a beta list of users and they're the only ones who have access to it.
-
You can do all kinds of targeting of features of feature flags to particular users.
-
You can do a progressive rollout of a feature to prevent any problems. Only roll this feature out to 10 percent, 20%, and so on, until I'm sure that everything is stable. And that way, if there's any problem, I can just turn the flag off, and roll it back, which is the big thing. I can kill a problematic feature without having to do a full rollback or redeploy. I can just flip that flag and the feature is turned off. Problem solved.
Let's implement the LaunchDarkly with NodeJS
Here we will use LaunchDarkly to control the feature flags and we use this feature flag to enable and disable the for specific users.Step 1: Sign Up on LaunchDarkly
To use the LaunchDarkly, we need to register ourself using this below link. Link is given in the bottom of the article.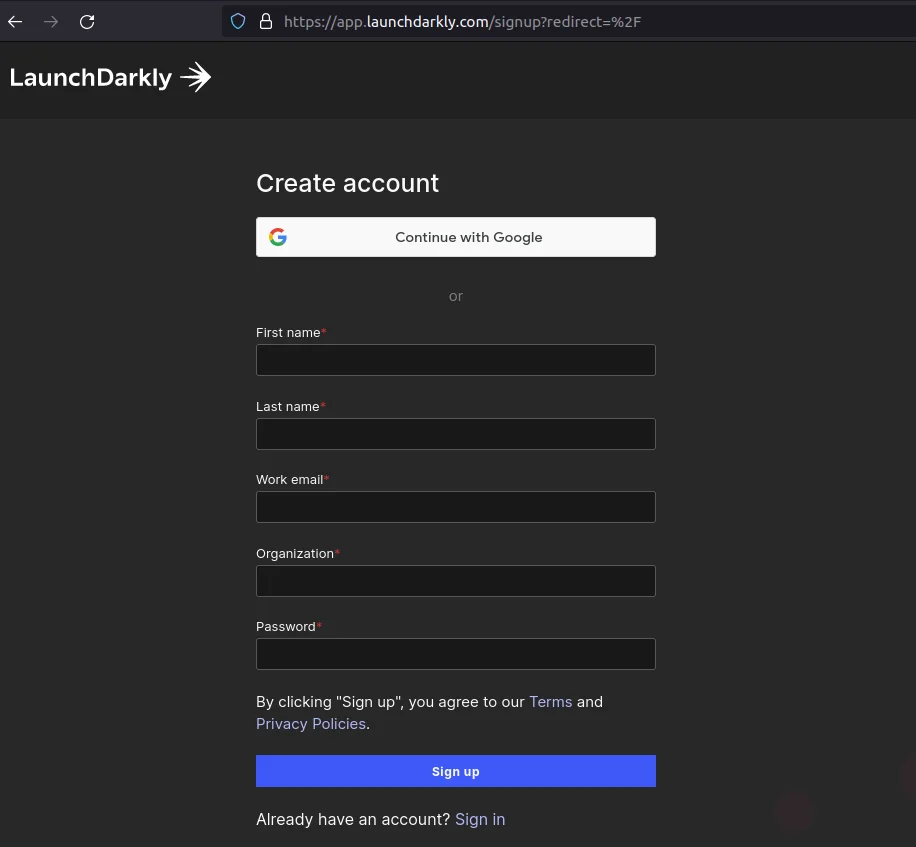
Implement LaunchDarkly with NodeJS from Scratch - Feature Flags
Step 2: Create Environment on LaunchDarkly
If you don't have any environment on your launchdarkly then create an environment like development, test, local, alpha, beta etc under your project.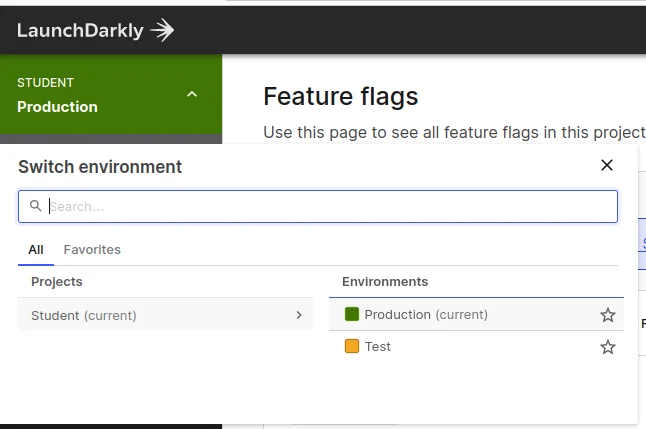
Implement LaunchDarkly with NodeJS from Scratch - Feature Flags
Step 3: Create Your first feature flag on LaunchDarkly
Now we need to create a feature flag. Let's be in the same page and create a feature flag with key my-boolean-flag with the same value my-boolean-flag.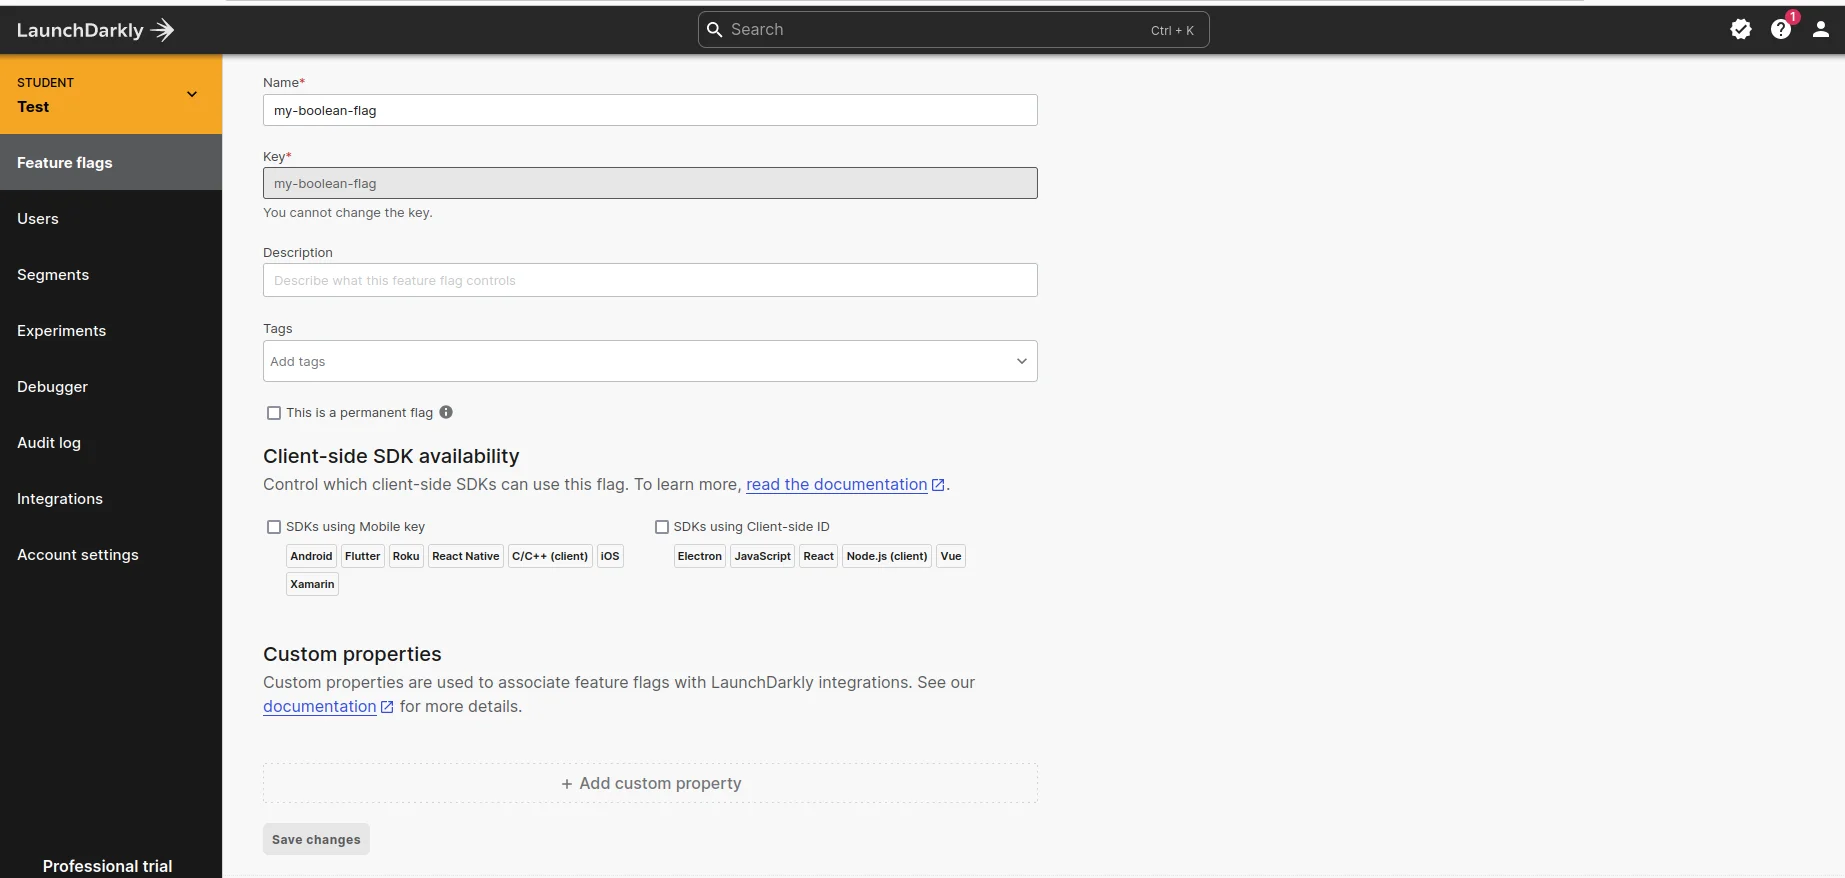
Implement LaunchDarkly with NodeJS from Scratch - Feature Flags
Now you can see you feature flag is created and ready to use.
Implement LaunchDarkly with NodeJS from Scratch - Feature Flags
Step 4: Get the sdkKey of your feature flag from LaunchDarkly
Now, you need to get the sdkKey from your LaunchDarkly. You can get it from below path.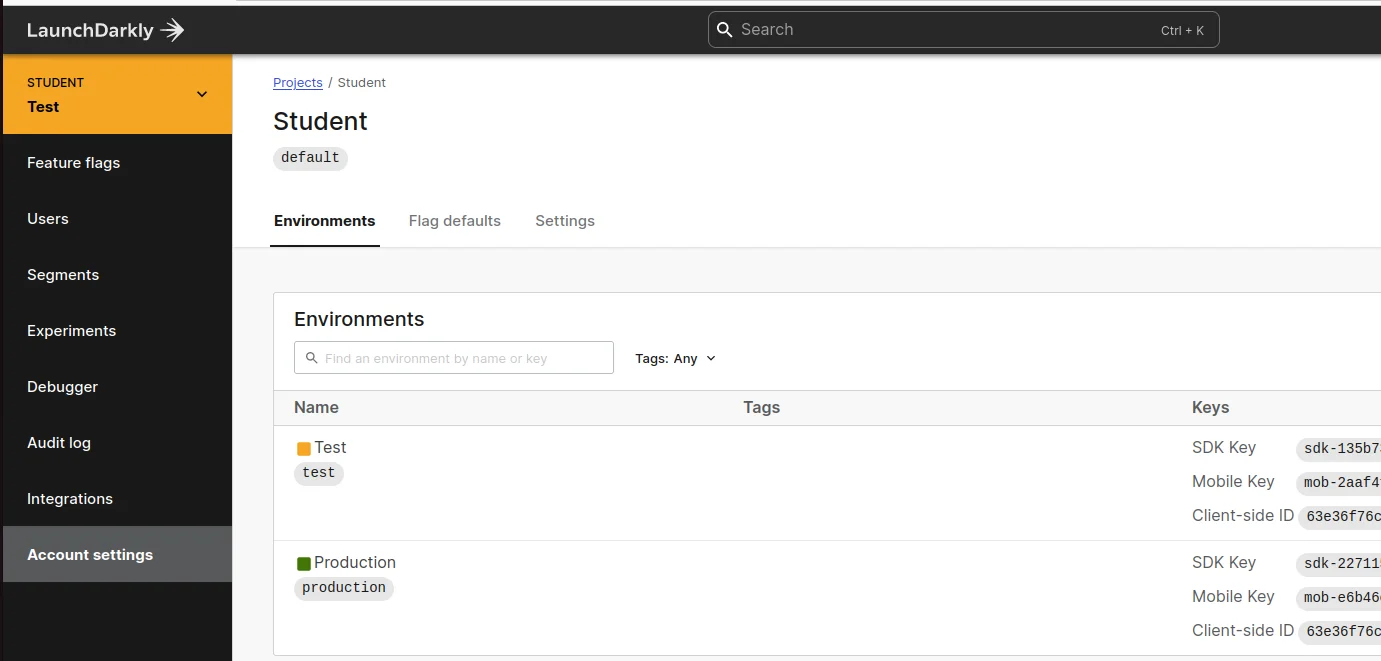
Implement LaunchDarkly with NodeJS from Scratch - Feature Flags
Now its time to create our Node Server
In this section we will create a NodeJs server and implement an API to fecth the feature flag of the LaunchDarkly and display our feature based on the feature value.Further we will add a rule in our LaunchDarkly. This rule will enable the feature flag for only selected users. When those selected user will try to access those feature, the feature will be enable only for those user wha has permission granted or fullfil the rules.
This going to be very interesting.
Step 5: Create Node server using Express Application Generator
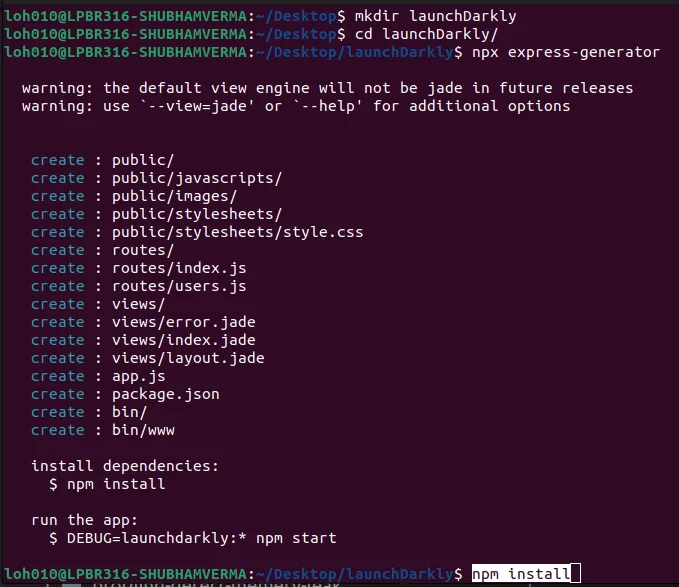
Implement LaunchDarkly with NodeJS from Scratch - Feature Flags
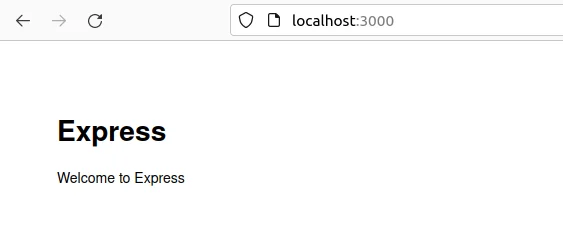
Implement LaunchDarkly with NodeJS from Scratch - Feature Flags
Now we have created our server, now let's integrate LaunchDarkly and its feature flag in our node application.Step 6: Integrate LaunchDarkly in NodeJs App
In this file, we will create and export a method getLdFalg(), in this method, we will initialize the LaunchDarkly using the launchDarkly SDK ie. "launchdarkly-node-server-sdk".
Now go to your directory, create the file, and write the below codes. We will use this file in our API while enabling/disabling the feature for users.
Don't forget to update you LaunchDarkly's SDK key in this file.
File: launchDarkly.js
Step 7: Create an API endpoint
This API will render a view engine (jade in this app) with some information.
For this, you need to update the code in the file routes/users.js with the following codes.
File: routes/users.js
Step 8: Prepare your views
Now we need to prepare views to display the feature to the users. For this we need to update the file
views/index.jade, in this we will design our views beautifully. You can design as per your
choice
and you can create your client application in React, Angular, or any client-side
technology to
display the feature.
Here we are using jade as a template engine which comes default with
express-generator.
So let's update our file views/index.jadewith the
following codes.
Please note that you need to maintain the formatting of the jade file for smooth working For your help I am adding the image of the codes also.
File: views/index.jade
Image File: views/index.jade

Implement LaunchDarkly with NodeJS from Scratch - Feature Flags
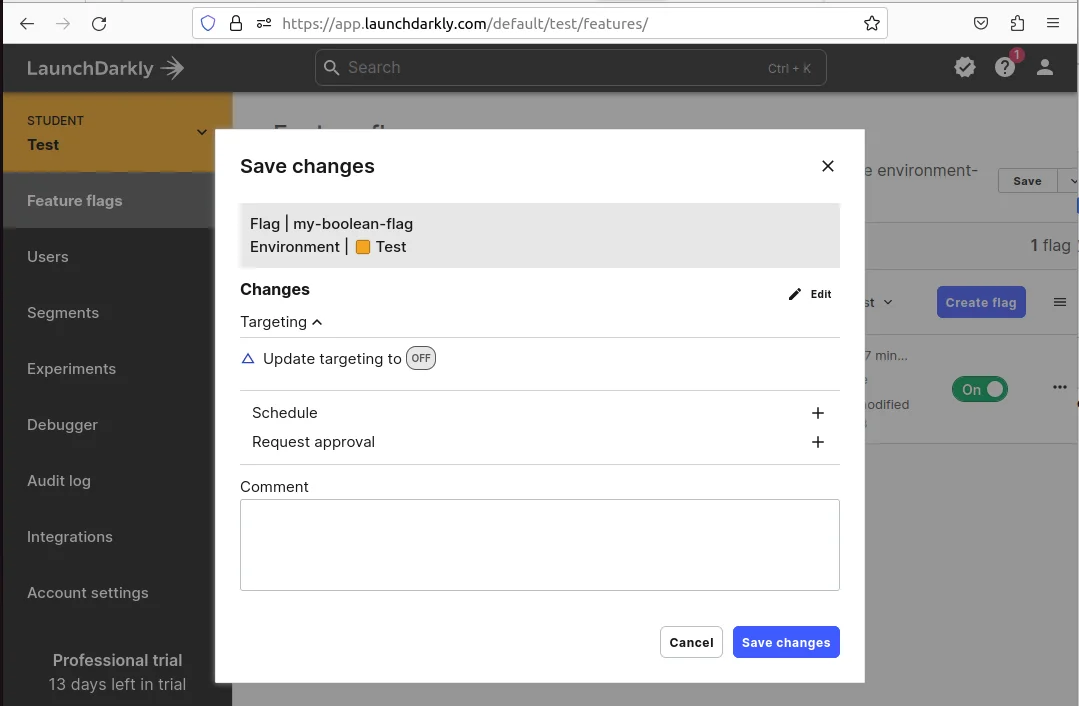
Step 9: Turn on your LaunchDarkly flag
Now, we need to turn our flag from LaunchDarkly, to do so, go to LaunchDarkly and turn on your feature flag, also don't forget to save your changes.
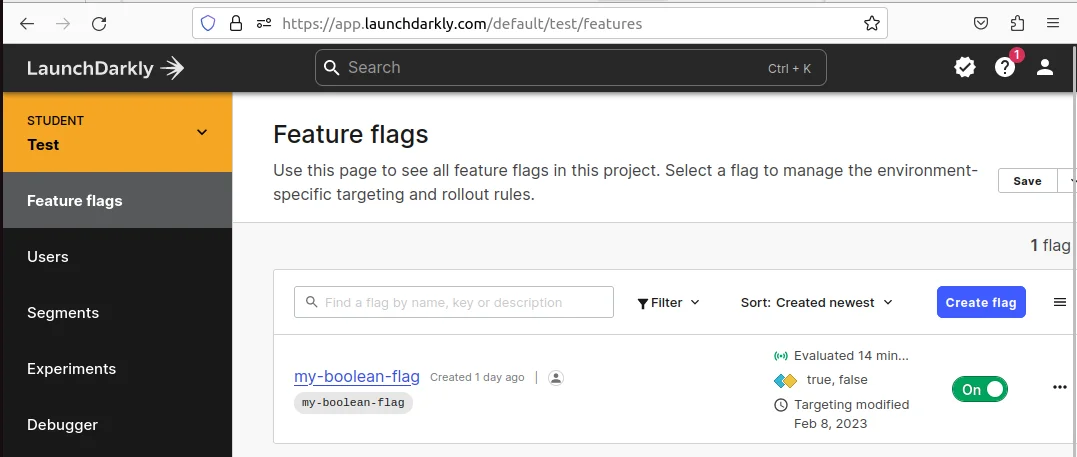
Implement LaunchDarkly with NodeJS from Scratch - Feature Flags
Implement LaunchDarkly with NodeJS from Scratch - Feature Flags
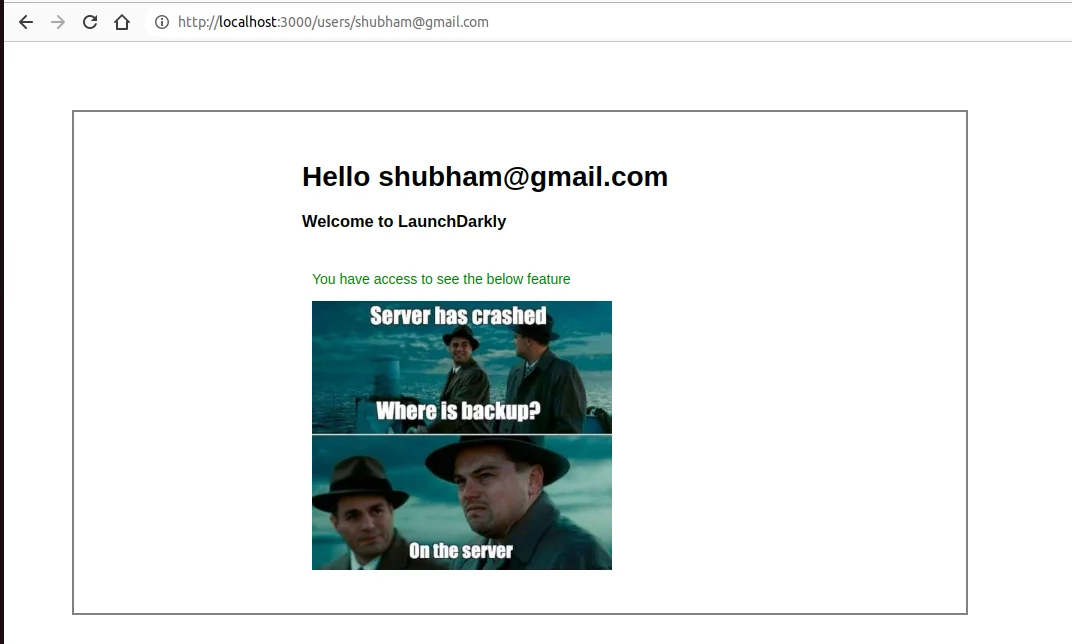
Step 10: Restar your node server
It's time to restart the server bur "npm start" command and hit the URL "/users /[email protected]"
in your
browser and see the changes.
You can see your feature is showing.
Implement LaunchDarkly with NodeJS from Scratch - Feature Flags
You can check with different-different emails in the URL, and you can see it showing for everyone.
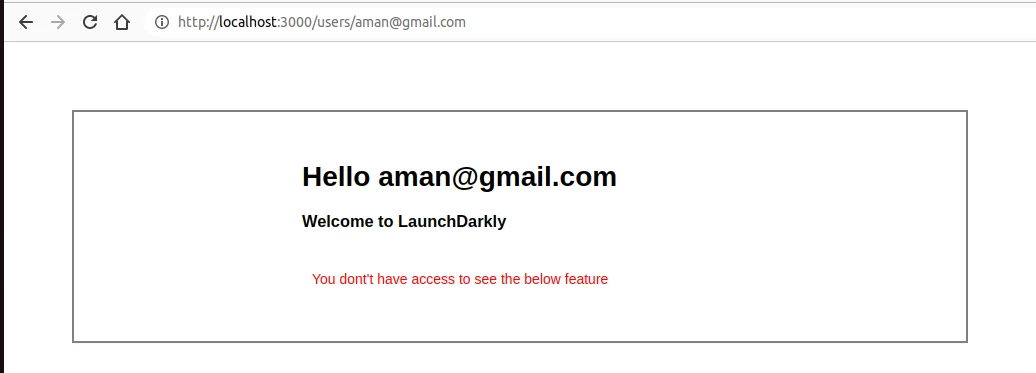
Step 11: Turn off the LaunchDarkly flag
Now go to LaunchDarkly and turn off the feature you can check with different-different emails in the URL, and you can see the feature is NOT showing for anyone without any code change or withour restaring the server.
Implement LaunchDarkly with NodeJS from Scratch - Feature Flags
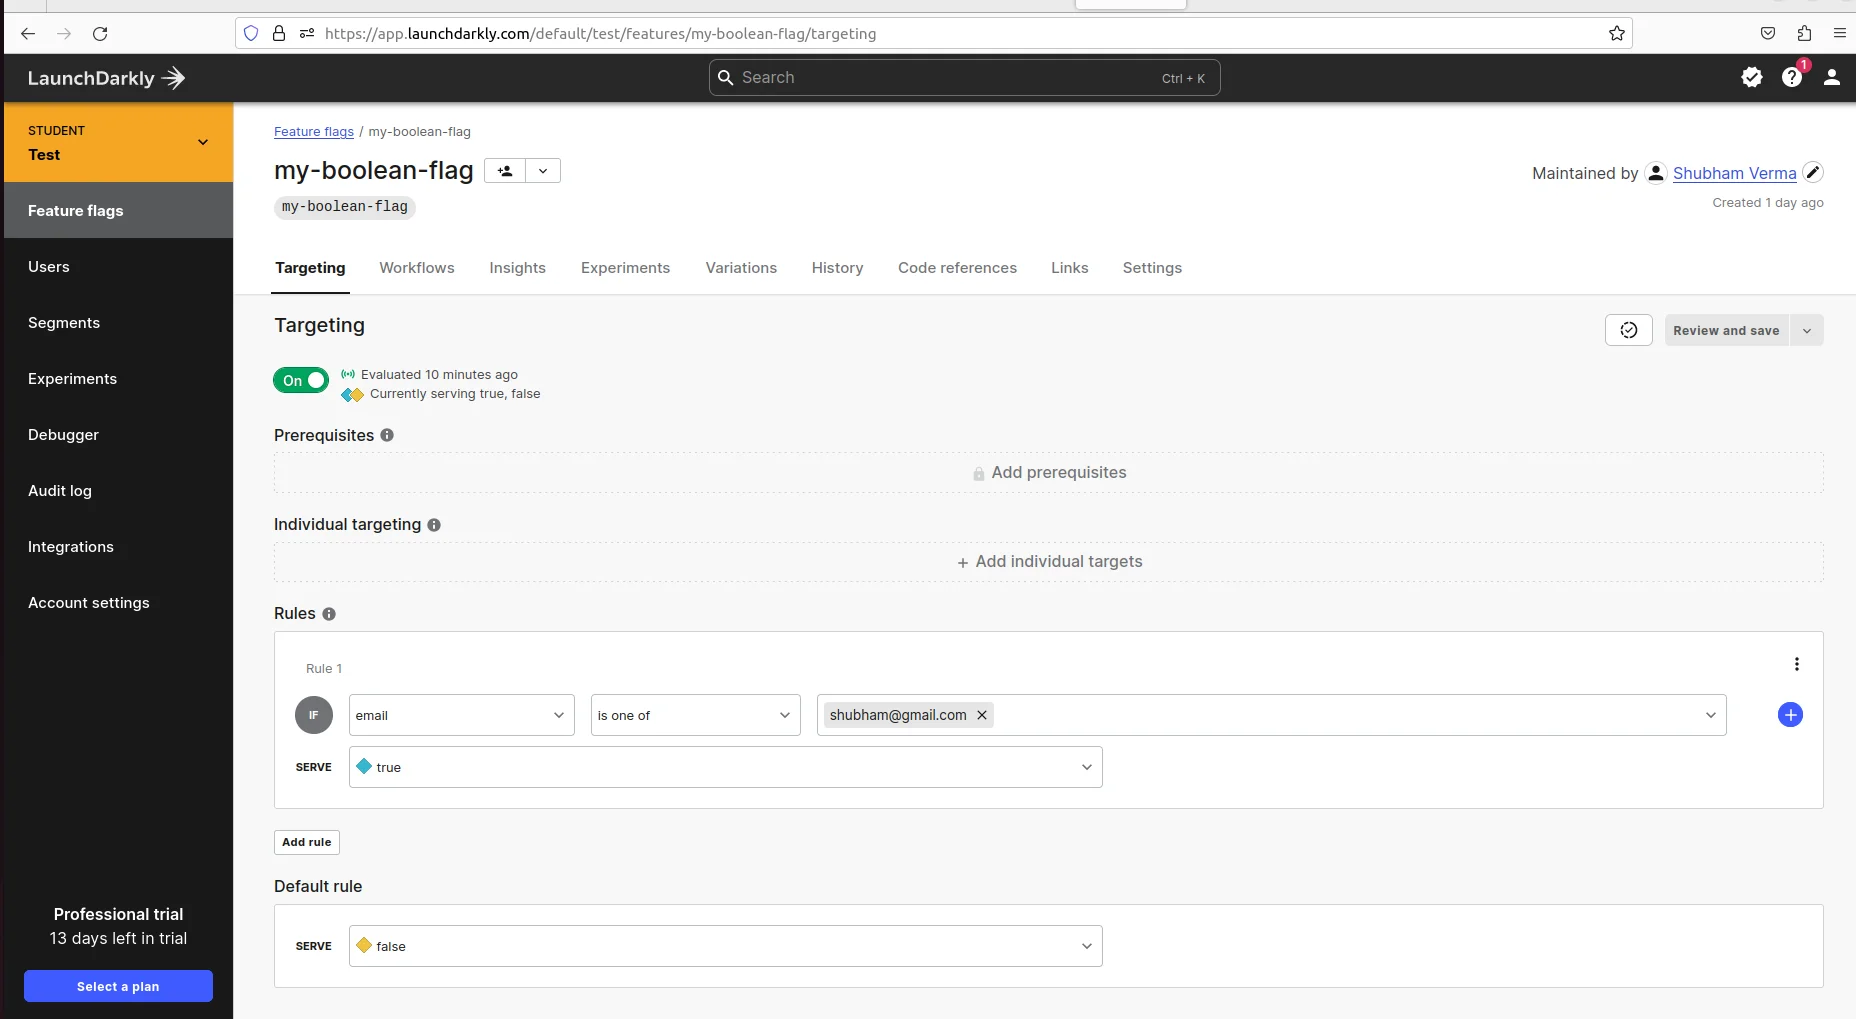
Step 11: Add a rule to control the feature visibility for some specific persons
Currently, this feature is either enabled or disabled for all users, this will not solve our problem, we want
to give
access to only some users who have privileged access. Or want to give access to some group. To achieve this
we need
to define the rule for this flag. We can add rules in LaunchDarkly. So let's do this.
Go to
LaunchDarkly and add the following rules under rules section.
Current Rule: email is one of [email protected]
Implement LaunchDarkly with NodeJS from Scratch - Feature Flags
We have added a rule, in this rule, we are allowing only the person who has the email
[email protected] in the URL can access this feature, No one can access this feature rather
than
[email protected].
You can add more emails, usernames, names, etc in your rule.
So,
as per
our rule:
Allowed URL:
/users/[email protected]
Not
allowed URL:
/users/ [email protected]
/users/ [email protected]
Step 12: Play with rules
I would recommend you to please add, remove, update the rules, and play with it.
Conclusion:
In this article, we learned the following things:What are the feature flags?
Why do we need feature flags tools?
Implementation the LaunchDarkly with NodeJS
Create Your first feature flag on LaunchDarkly
Get the sdkKey of your feature flag from LaunchDarkly
Create Node server using Express Application Generator
Create an API endpoint
Work with template engines like Jade and how to do styling in Jade.
How to render html from the server side.
Add a rule in LaunchDarkly to control the feature visibility for some specific persons
Links
Related Keywords:
Implement LaunchDarkly with NodeJS from Scratch
Implement LaunchDarkly with NodeJS
What is feature flags and how it works
What is LaunchDarkly
LaunchDarkly and NodeJS
Feature flags for Node.js - LaunchDarkly
Support our IDKBlogs team
Creating quality content takes time and resources, and we are committed to providing value to our
readers.
If you find my articles helpful or informative, please consider supporting us financially.
Any amount (10, 20, 50, 100, ....), no matter how small, will help us continue to produce
high-quality content.
Thank you for your support!
Thank you
I appreciate you taking the time to read this article. The more that you read, the more things you will know. The more that you learn, the more places you'll go.
If you’re interested in Node.js or JavaScript this link will help you a lot.
If you found this article is helpful, then please share this article's link to your friends to whom this is required, you can share this to your technical social media groups also.
You can follow us on our social media page for more updates and latest article updates.
To read more about the technologies, Please
subscribe us, You'll get the monthly newsletter having all the published
article of the last month.
