Implement Pre-Commit Hook for check unit test cases in Nest.js
Version control is a crucial aspect of software development, allowing teams to collaborate efficiently and track changes to their codebase. Git, a widely used version control system, enables developers to manage and share code effectively. However, maintaining code quality and consistency across contributions can be challenging. This is where pre-commit hooks come into play.
Pre-commit hooks are scripts that run before a Git commit is completed. They allow developers to enforce coding standards, run tests, or perform any other checks to ensure that committed code meets specific criteria. In this article, we'll explore the process of implementing a pre-commit hook using Husky, a popular Git hook manager, in a Node.js repository.
Let's see how we can implement this pre-commit hooks:
Step 1: Create a Repository and Clone
Begin by creating a new repository on your version control platform (e.g., GitHub, GitLab, or Bitbucket). Clone the repository to your local machine using the following command:Step 2: Install Required Packages
To implement pre-commit hooks with Husky, you need to install several packages. Open your terminal and run the following command:Let's briefly explain each package:
Husky: A tool for managing Git hooks.
Jest: A JavaScript testing framework widely used for testing Node.js applications.
@nestjs/testing: The testing module for Nest.js applications.
Step 3: Set Up Husky with npm Package Scripts
To initialize Husky in your project, run the following command:Step 4: Run npm Prepare
Execute the following command to trigger the prepare script:Step 5: Add a Pre-Commit Hook
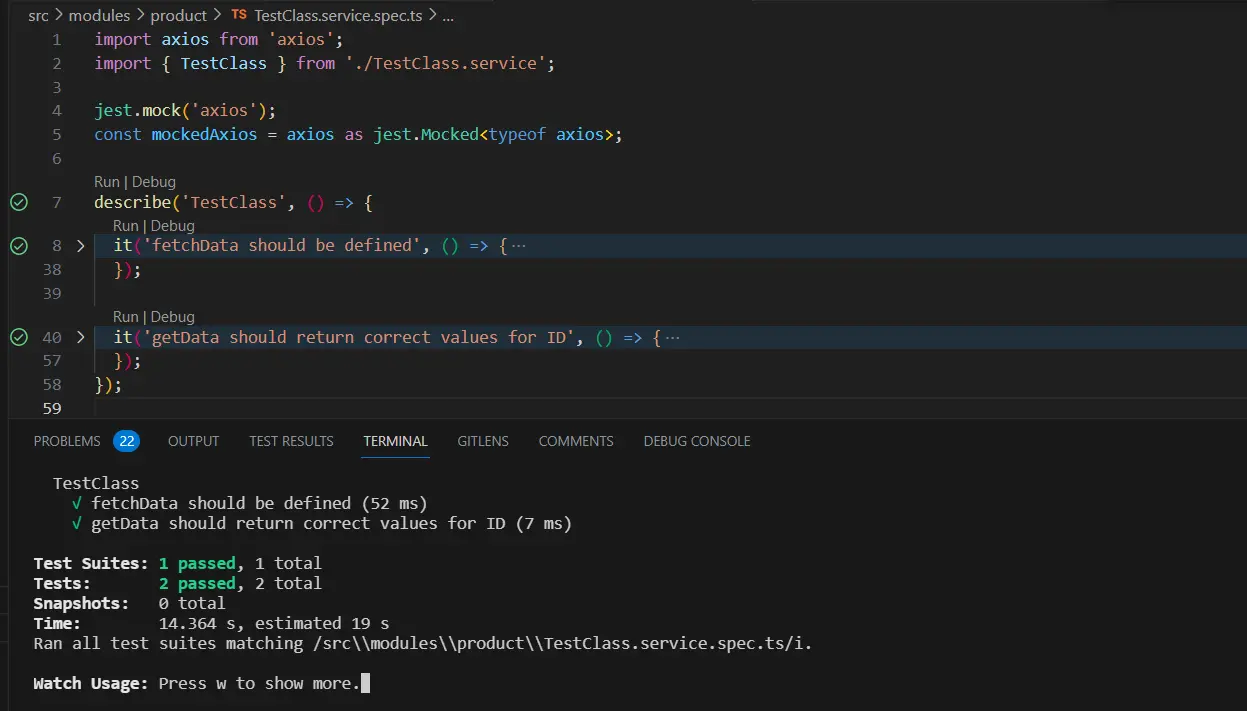
Now, it's time to add a pre-commit hook that runs your tests before allowing a commit. Run the following command:It will create a directory ".husky" and "pre-commit" file with below codes:
.husky/pre-commit
Step 6: Try to Commit Your Changes
With the pre-commit hook in place, make some changes to your code and attempt to commit them:Repository's Package.json Script Configuration
Ensure that your `package.json` file contains the necessary scripts, especially the `test` scripts, as demonstrated in the provided example.Advantages of Pre-Commit Hooks:
Code Quality Assurance:Pre-commit hooks help maintain a high level of code quality by running checks and tests before code is committed.
Automated Processes:Automating checks and tests before each commit ensures that developers don't inadvertently introduce issues into the codebase.
Consistency:Enforcing coding standards and best practices ensures consistency across the codebase.
Conclusion:
Implementing pre-commit hooks using Husky is a valuable practice for any software development project.It helps catch issues early in the development process, ensuring that only high-quality, well-tested code is committed to the repository.
By following the steps outlined in this article, you can easily integrate pre-commit hooks into your Node.js project and enjoy the benefits of automated code quality assurance.
Related Keywords:
Implementing Pre-Commit Hook with Husky in a app
Implementing Pre-Commit Hook in Code
Implementing Pre-Commit Hook with Husky in a NEST.JS Repo
Pre-Hook Git Commit
Support our IDKBlogs team
Creating quality content takes time and resources, and we are committed to providing value to our
readers.
If you find my articles helpful or informative, please consider supporting us financially.
Any amount (10, 20, 50, 100, ....), no matter how small, will help us continue to produce
high-quality content.
Thank you for your support!
Thank you
I appreciate you taking the time to read this article. The more that you read, the more things you will know. The more that you learn, the more places you'll go.
If you’re interested in Node.js or JavaScript this link will help you a lot.
If you found this article is helpful, then please share this article's link to your friends to whom this is required, you can share this to your technical social media groups also.
You can follow us on our social media page for more updates and latest article updates.
To read more about the technologies, Please
subscribe us, You'll get the monthly newsletter having all the published
article of the last month.

