Build Micro Frontends In React - Step by Step
In the ever-evolving landscape of web development, micro frontends have emerged as a powerful architectural approach to building scalable and maintainable web applications. Just as microservices revolutionized backend development, micro frontends bring modularity, flexibility, and independence to the frontend world. In this guide, we will walk through the process of building micro frontends in React, one of the most popular frontend frameworks.
Understanding Micro Frontends
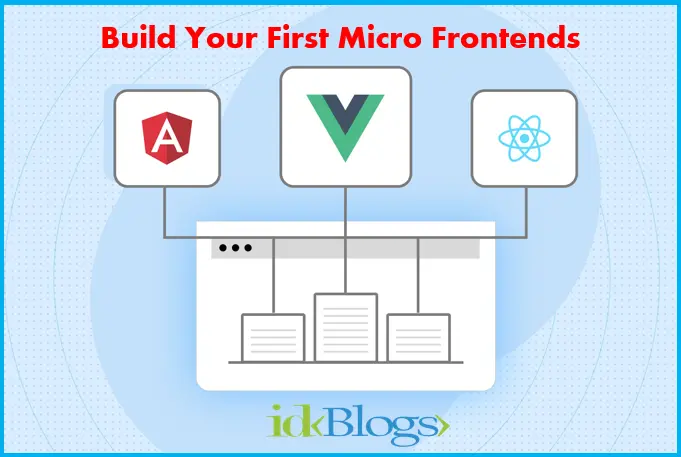
Before diving into implementation, it's crucial to grasp the concept of micro frontends. Essentially, micro frontends advocate breaking down a large, monolithic frontend application into smaller, more manageable pieces, each representing a self-contained feature or functionality. These micro frontends can be developed, tested, and deployed independently, allowing teams to work in parallel without stepping on each other's toes.You can read What are the Micro Frontends? article to know more about micro frontend.
In this article
This blog provides a detailed walkthrough of implementing a React Micro Frontend (MFE) architecture utilizing Webpack Module Federation. We will setup React Micro frontend Projects and We will use webpack module federation with React to build our first micro frontend.In this article, We build two app, first is container-app and other is micro-app, container-app will contains the micro frontend app micro-app.
Create your micro frontend project directory. Let’s call it micro_frontend_app, we will have our two react micro frontend app (container-app, micro-app) in this directory.
Step 1: Create first micro frontend app: micro-app
To kickstart the project and install all necessary dependencies, execute the following command:Open package.json file and copy paste below npm scripts:
Create a file babel.config.json and paste below config:
Create a file webpack.config.js and paste below config:
This code appears to be configuring webpack plugins for a JavaScript project. Let's break it down:
-
HtmlWebpackPlugin: This plugin simplifies the creation of HTML files to serve your webpack bundles. It generates an HTML file using a template provided and injects the necessary script tags for your webpack bundles. In this configuration:template: Specifies the path to the HTML template file. It resolves the template file path usingpath.resolve()method, which resolves to theindex.htmlfile located in thepublicdirectory of the project.
-
ModuleFederationPlugin: This plugin is used for module federation, a feature in webpack that allows you to dynamically load code from different webpack builds at runtime. This is particularly useful for micro-frontends or building complex applications composed of independently developed and deployed parts. In this configuration:name: Specifies the name of the federation. It's set to "FIRST_APP".filename: Specifies the name of the remote entry file. This file is responsible for exposing the modules that can be consumed by other federated modules. It's set to "remoteEntry.js".exposes: Defines the modules that this federated module exposes. In this case, it exposes the "./app" module, which is resolved to the "./src/components/App" file in the project.
Overall, this configuration sets up two webpack plugins:
HtmlWebpackPluginto generate HTML files for serving webpack bundles.ModuleFederationPluginto enable module federation, allowing the project to expose certain modules for consumption by other federated modules.
Create a directory public and create file public/index.html and paste below code:
Create a directory src and create file src/index.js and paste below code:
Create a directory src/components and create a file App.js and paste below code:
Create a file src/components/Main.js and paste below code:
The MainApp component serves a singular purpose: enabling the usage of the app in a manner consistent with any other React application.
Create a file src/components/styles.css and paste below code:
Let's launch your micro frontend app !
To launch your microfrontend app server, simply execute the following command: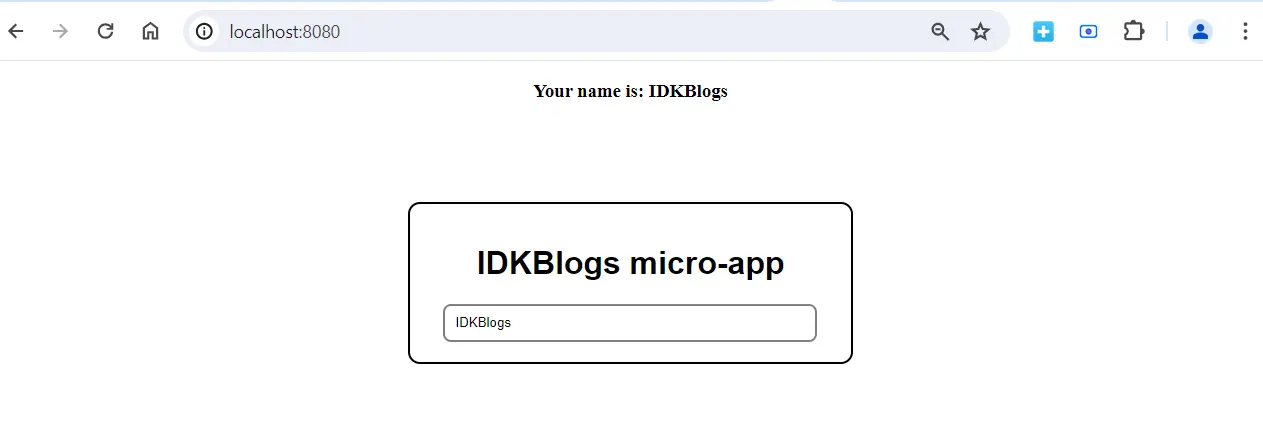
Build Micro Frontends In React - Step by Step
Step 2: Create second app: container-app
Integrating a micro frontend app into another React application is remarkably straightforward. The microfrontend app will be hosted on port 8080, and our second app will seamlessly integrate it through its remote URL, which is exposed via webpack. Create your project directory. Let’s call it: container-appRun below command to initiate project and install all dependencies:
Open the package.json file and copy-paste the following npm scripts:
Create a file named babel.config.json and paste the following configuration:
Create a file named webpack.config.js and paste the following configuration:
-
HtmlWebpackPlugin: This plugin generates HTML files based on a template. The template is specified usingpath.resolve()to resolve the path to theindex.htmlfile located in thepublicdirectory of the project. -
ModuleFederationPlugin: This plugin enables module federation, a feature in webpack that allows for dynamic loading of code from different webpack builds at runtime. In this configuration:name: Specifies the name of the federation, which is set to "MICRO".remotes: Defines remote modules that this federated module depends on. Here, it specifies a remote module named "FIRST_APP". When a module from "FIRST_APP" is imported, webpack will load it from the specified URL, which ishttp://localhost:8080/remoteEntry.js.
Overall, these plugins configure webpack to generate HTML files and enable module federation, allowing the
project to dynamically load code from remote modules, specifically the "FIRST_APP" module hosted at
http://localhost:8080/remoteEntry.js.
Create a directory public and create file public/index.html and paste below code:
Create a directory src and create file src/index.js and paste below code:
Create a directory named "src" and within it, create a file named "index.js". Paste the following code into "index.js":Create a directory src/App.js and paste below code:
Create a file src/components/styles.css and paste below code:
Run below command to start second app:

Build Micro Frontends In React - Step by Step
The microfrontend app is loaded using its remote URL within our second React application. This allows for seamless integration and interaction between the two applications, facilitating a modular and scalable frontend architecture.
Conclusion:
In conclusion, building micro frontends in React opens up new avenues for modular, scalable, and independently deployable web applications. Through a step-by-step approach, developers can seamlessly integrate multiple React applications into a cohesive whole, each responsible for specific features or functionalities. Embracing micro frontends empowers teams to work autonomously on different parts of the application, fostering parallel development and reducing dependencies.By leveraging webpack's Module Federation Plugin, developers can establish communication between micro frontends, enabling seamless sharing of components, state, and resources. This fosters a dynamic ecosystem where updates to one micro frontend propagate across the application without impacting others, enhancing maintainability and scalability.
Furthermore, adopting micro frontends aligns with modern software architecture principles such as modularity, encapsulation, and loose coupling. This architectural paradigm facilitates continuous integration and delivery practices, allowing teams to release updates independently, accelerating time-to-market and fostering innovation.
In summary, mastering the art of building micro frontends in React empowers developers to architect resilient, adaptable, and future-proof web applications capable of meeting evolving business requirements in today's dynamic digital landscape.
Related Keywords:
Build micro frontends in React to enhance your web application's scalability and modularity
Discover how to seamlessly integrate multiple React applications with our step-by-step guide on building micro frontends
Dynamic React Micro Frontends Architecture
Webpack Simplifies React Micro Frontends
Empower Teams: React Micro Frontends
Seamless React Micro Frontends Integration
Support our IDKBlogs team
Creating quality content takes time and resources, and we are committed to providing value to our
readers.
If you find my articles helpful or informative, please consider supporting us financially.
Any amount (10, 20, 50, 100, ....), no matter how small, will help us continue to produce
high-quality content.
Thank you for your support!
Thank you
I appreciate you taking the time to read this article. The more that you read, the more things you will know. The more that you learn, the more places you'll go.
If you’re interested in Node.js or JavaScript this link will help you a lot.
If you found this article is helpful, then please share this article's link to your friends to whom this is required, you can share this to your technical social media groups also.
You can follow us on our social media page for more updates and latest article updates.
To read more about the technologies, Please
subscribe us, You'll get the monthly newsletter having all the published
article of the last month.
