What is Storybook
Storybook
is a tool to make UI better and better. Storybook is used to make the UI development faster without any
struggle. It isolates the UI components. The Storybook provides the facilities to develop one UI component
at a time.
You can
start development without your all UI setups. In this article, we will learn about the Storybook and also
will learn
How to use Storybook with React.
Storybook is used to divide and develop UI components for your complex pages.
Storybook provides the facilities to document your UI components so that the reusability be easier. The
Storybook provides the testing
features to test your components to prevents the bugs from your UI Components.
You can use Storybook with the most popular JavaScript UI Frameworks like AngularJS, ReactJS, etc.
By using Storybook, we create a story. A Story contains the rendered state of UI components. You can write
as
many stories as
you want per component, that provides all the essentials states of the components.
Let's see How we can use Storybook with react app from scratch:
Create a React App:
To move ahead, let's create a react app. In this demo app, we'll integrate our Storybook and will create a demo component. To create a demo react app, run the below command: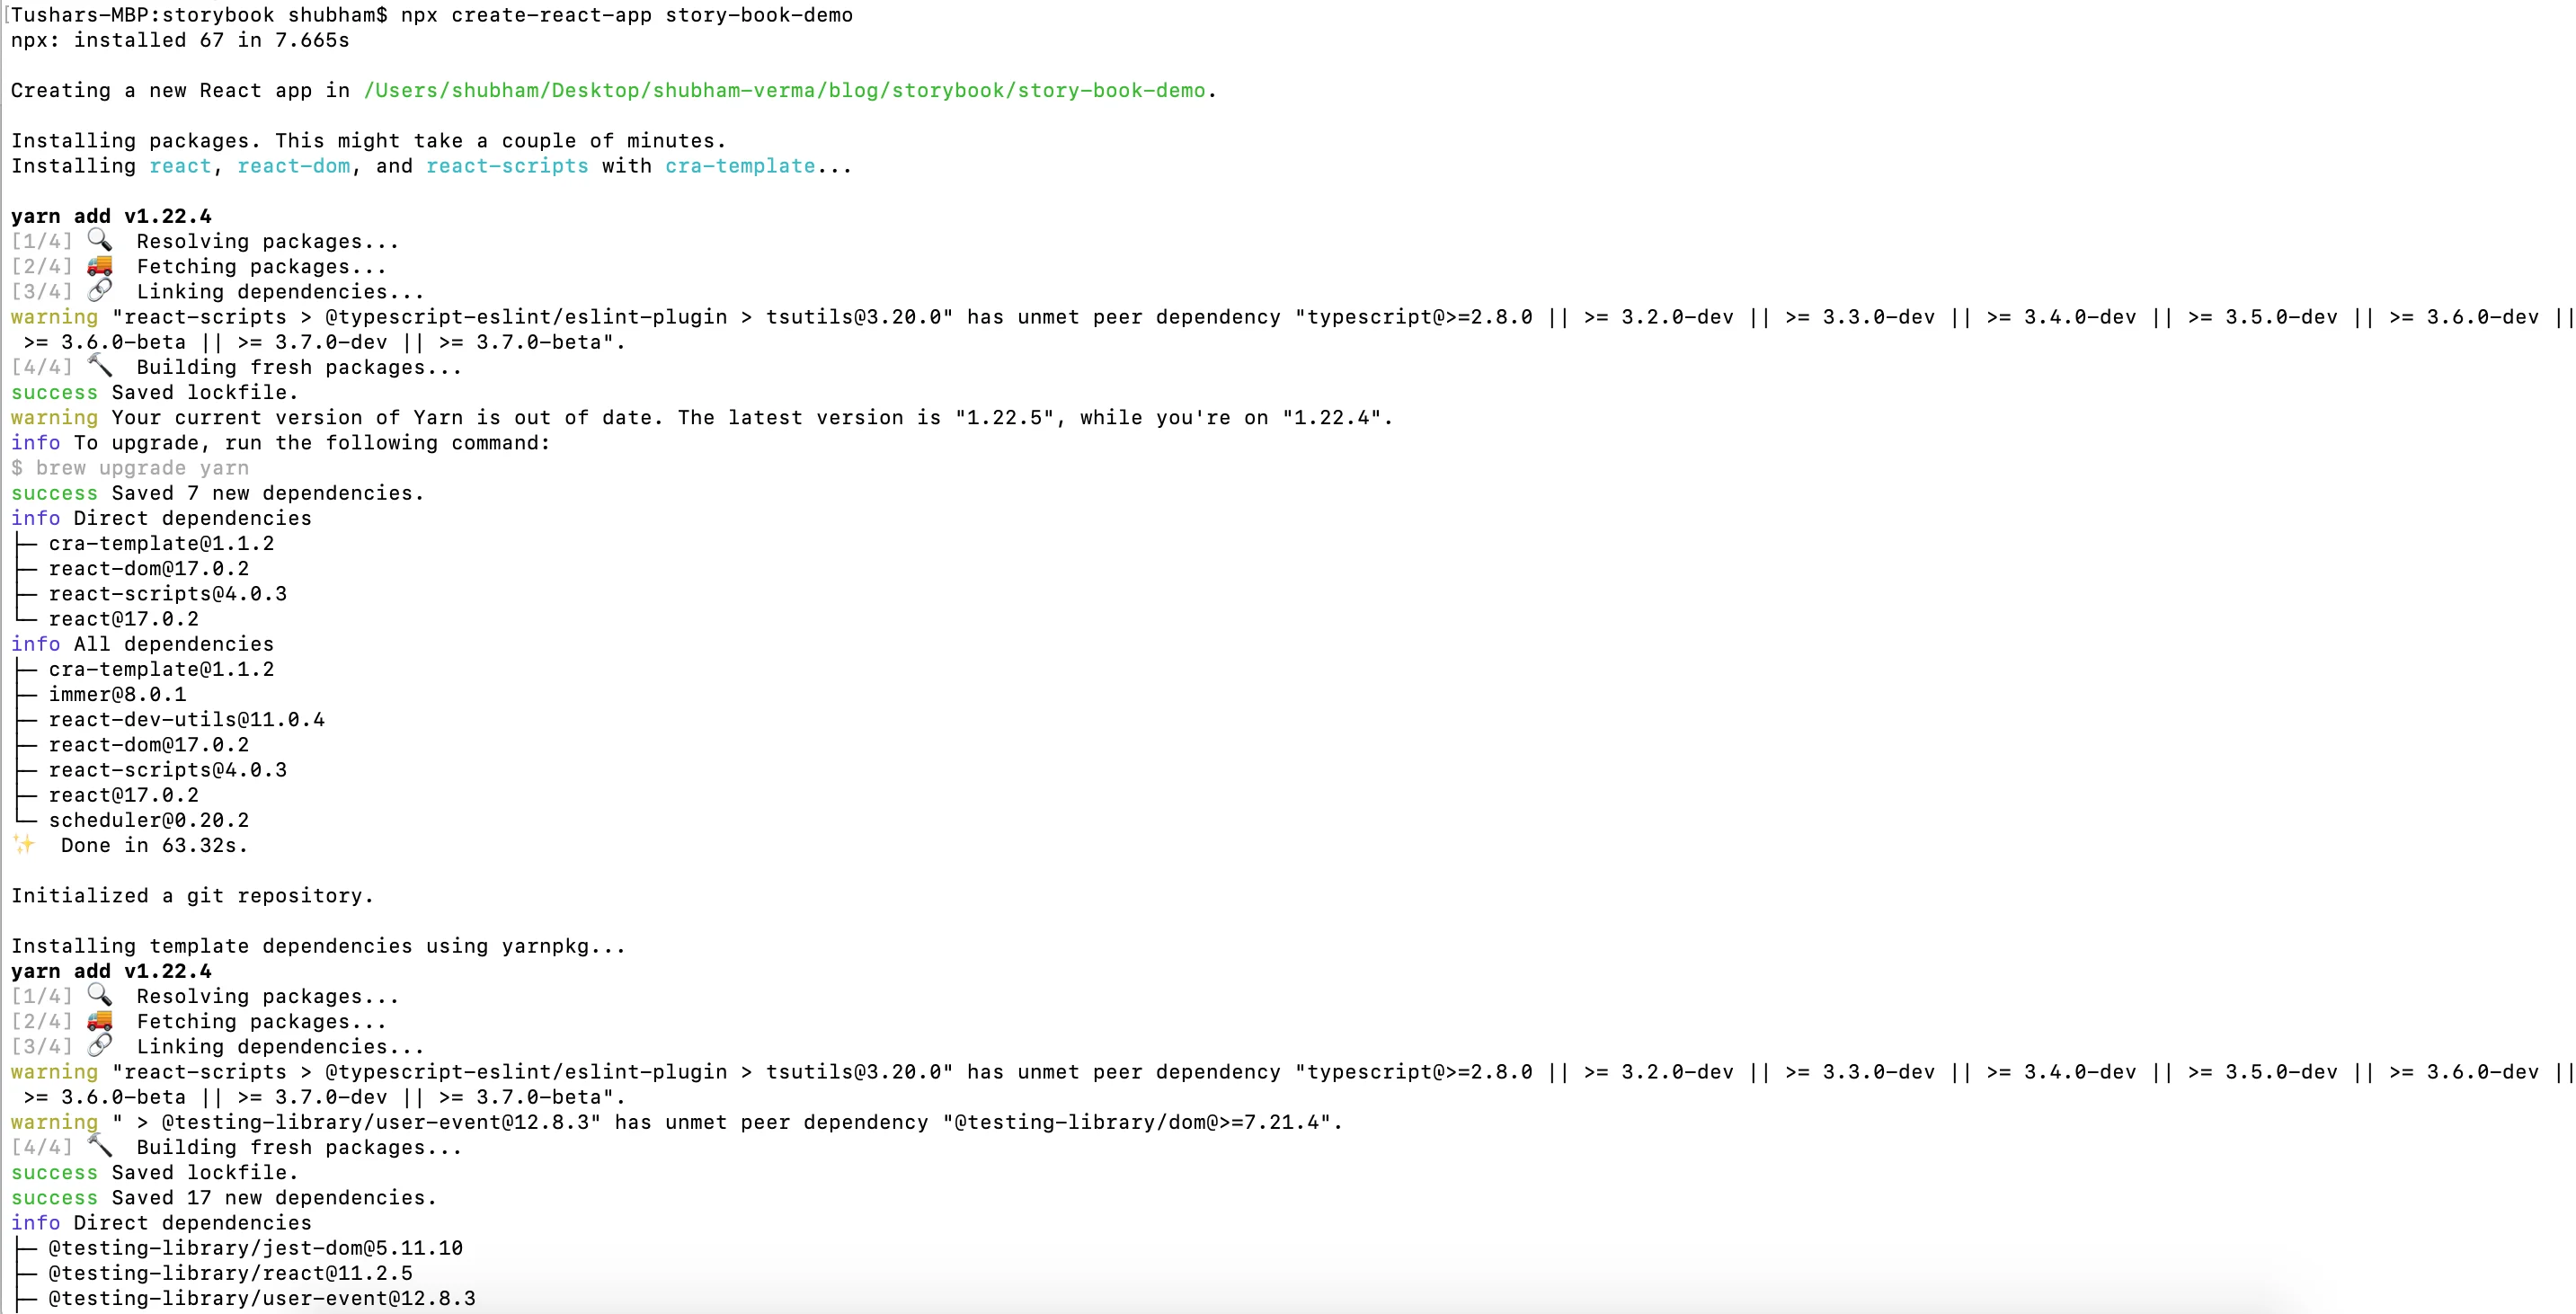
How to use Storybook to write Test Case for React Component?
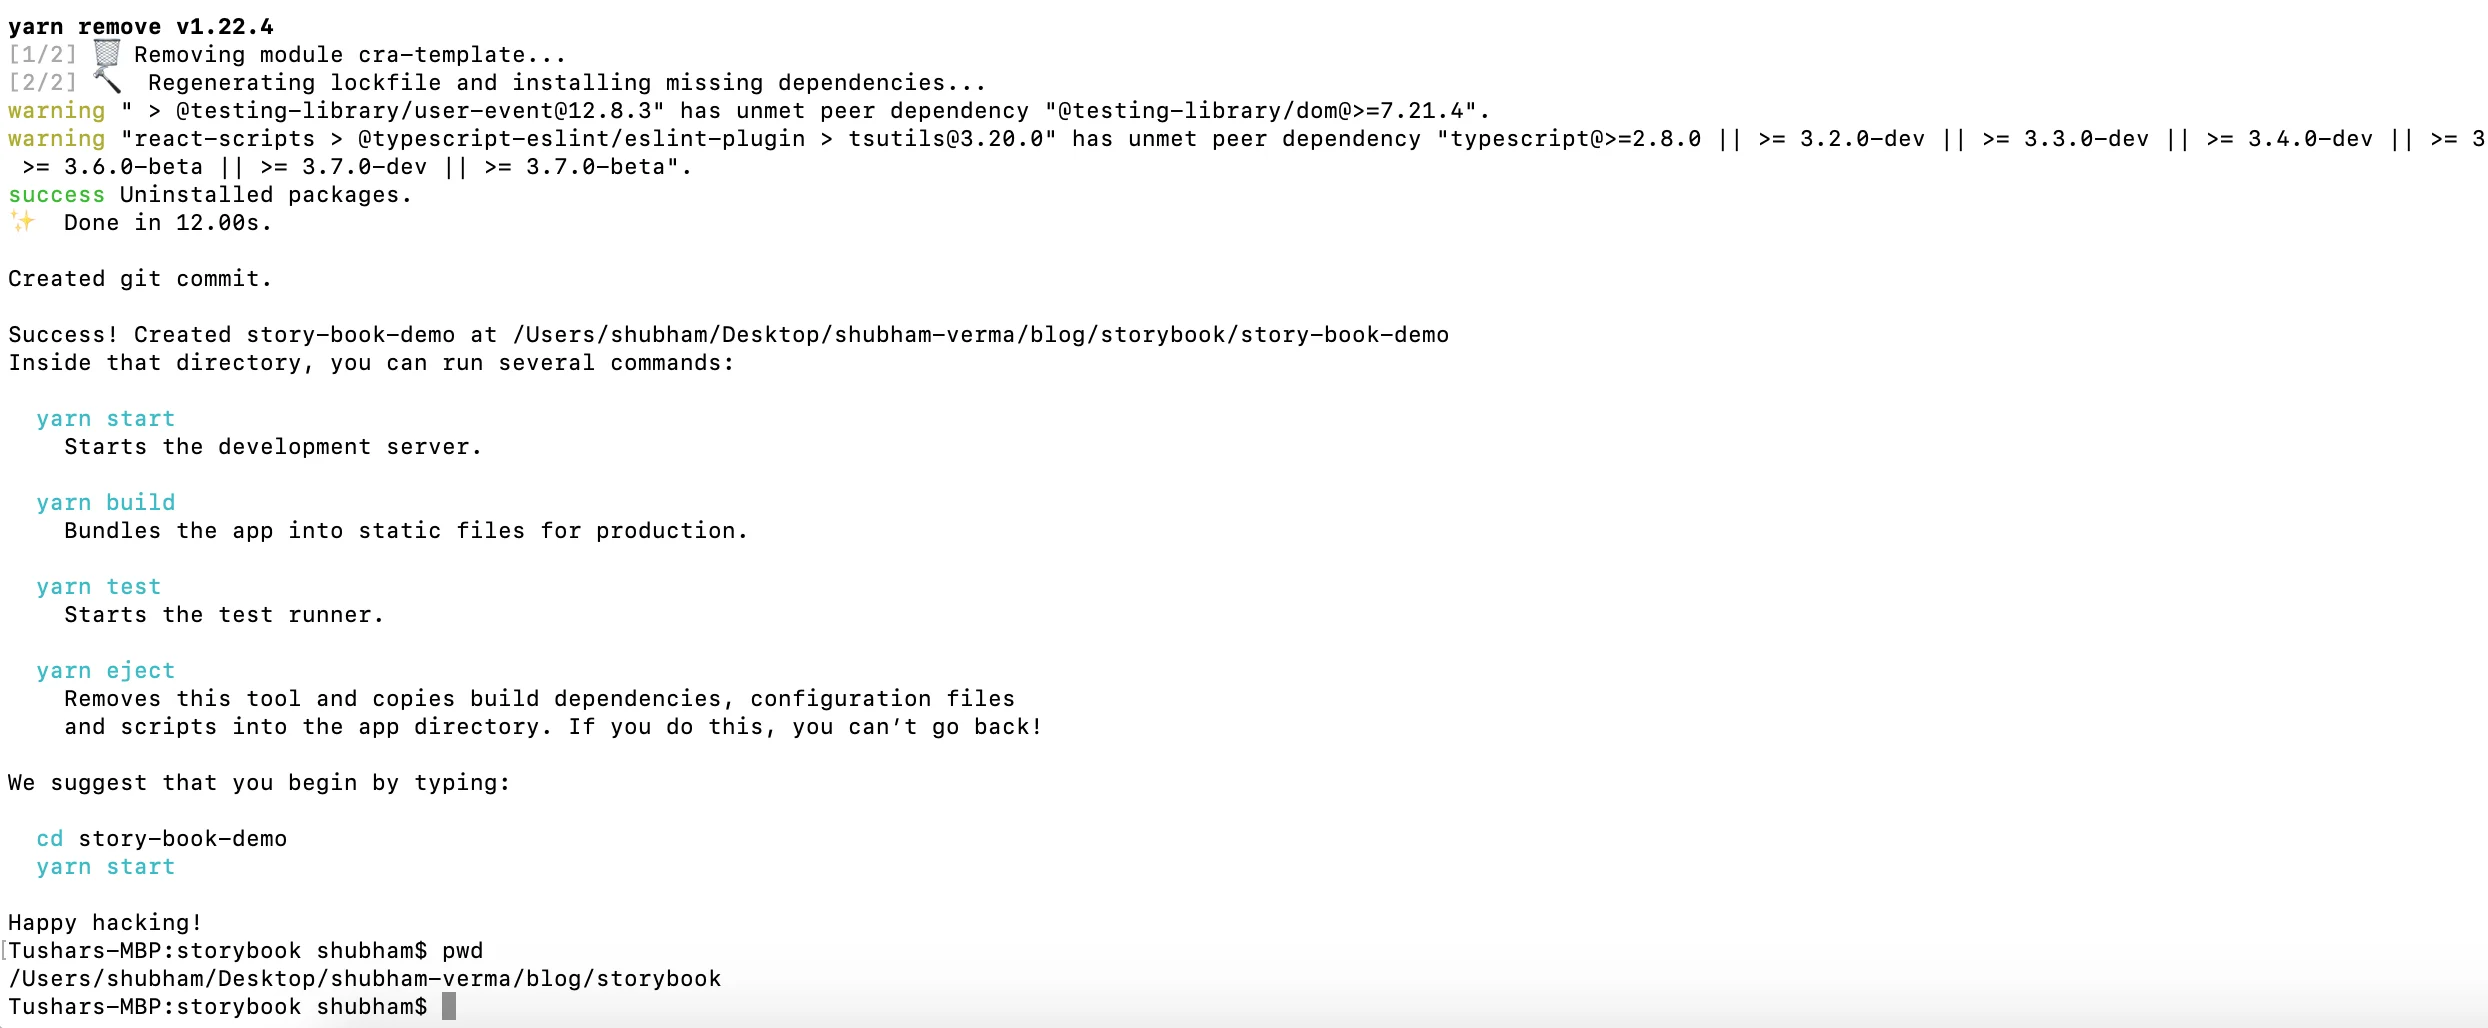
How to use Storybook to write Test Case for React Component?
Now run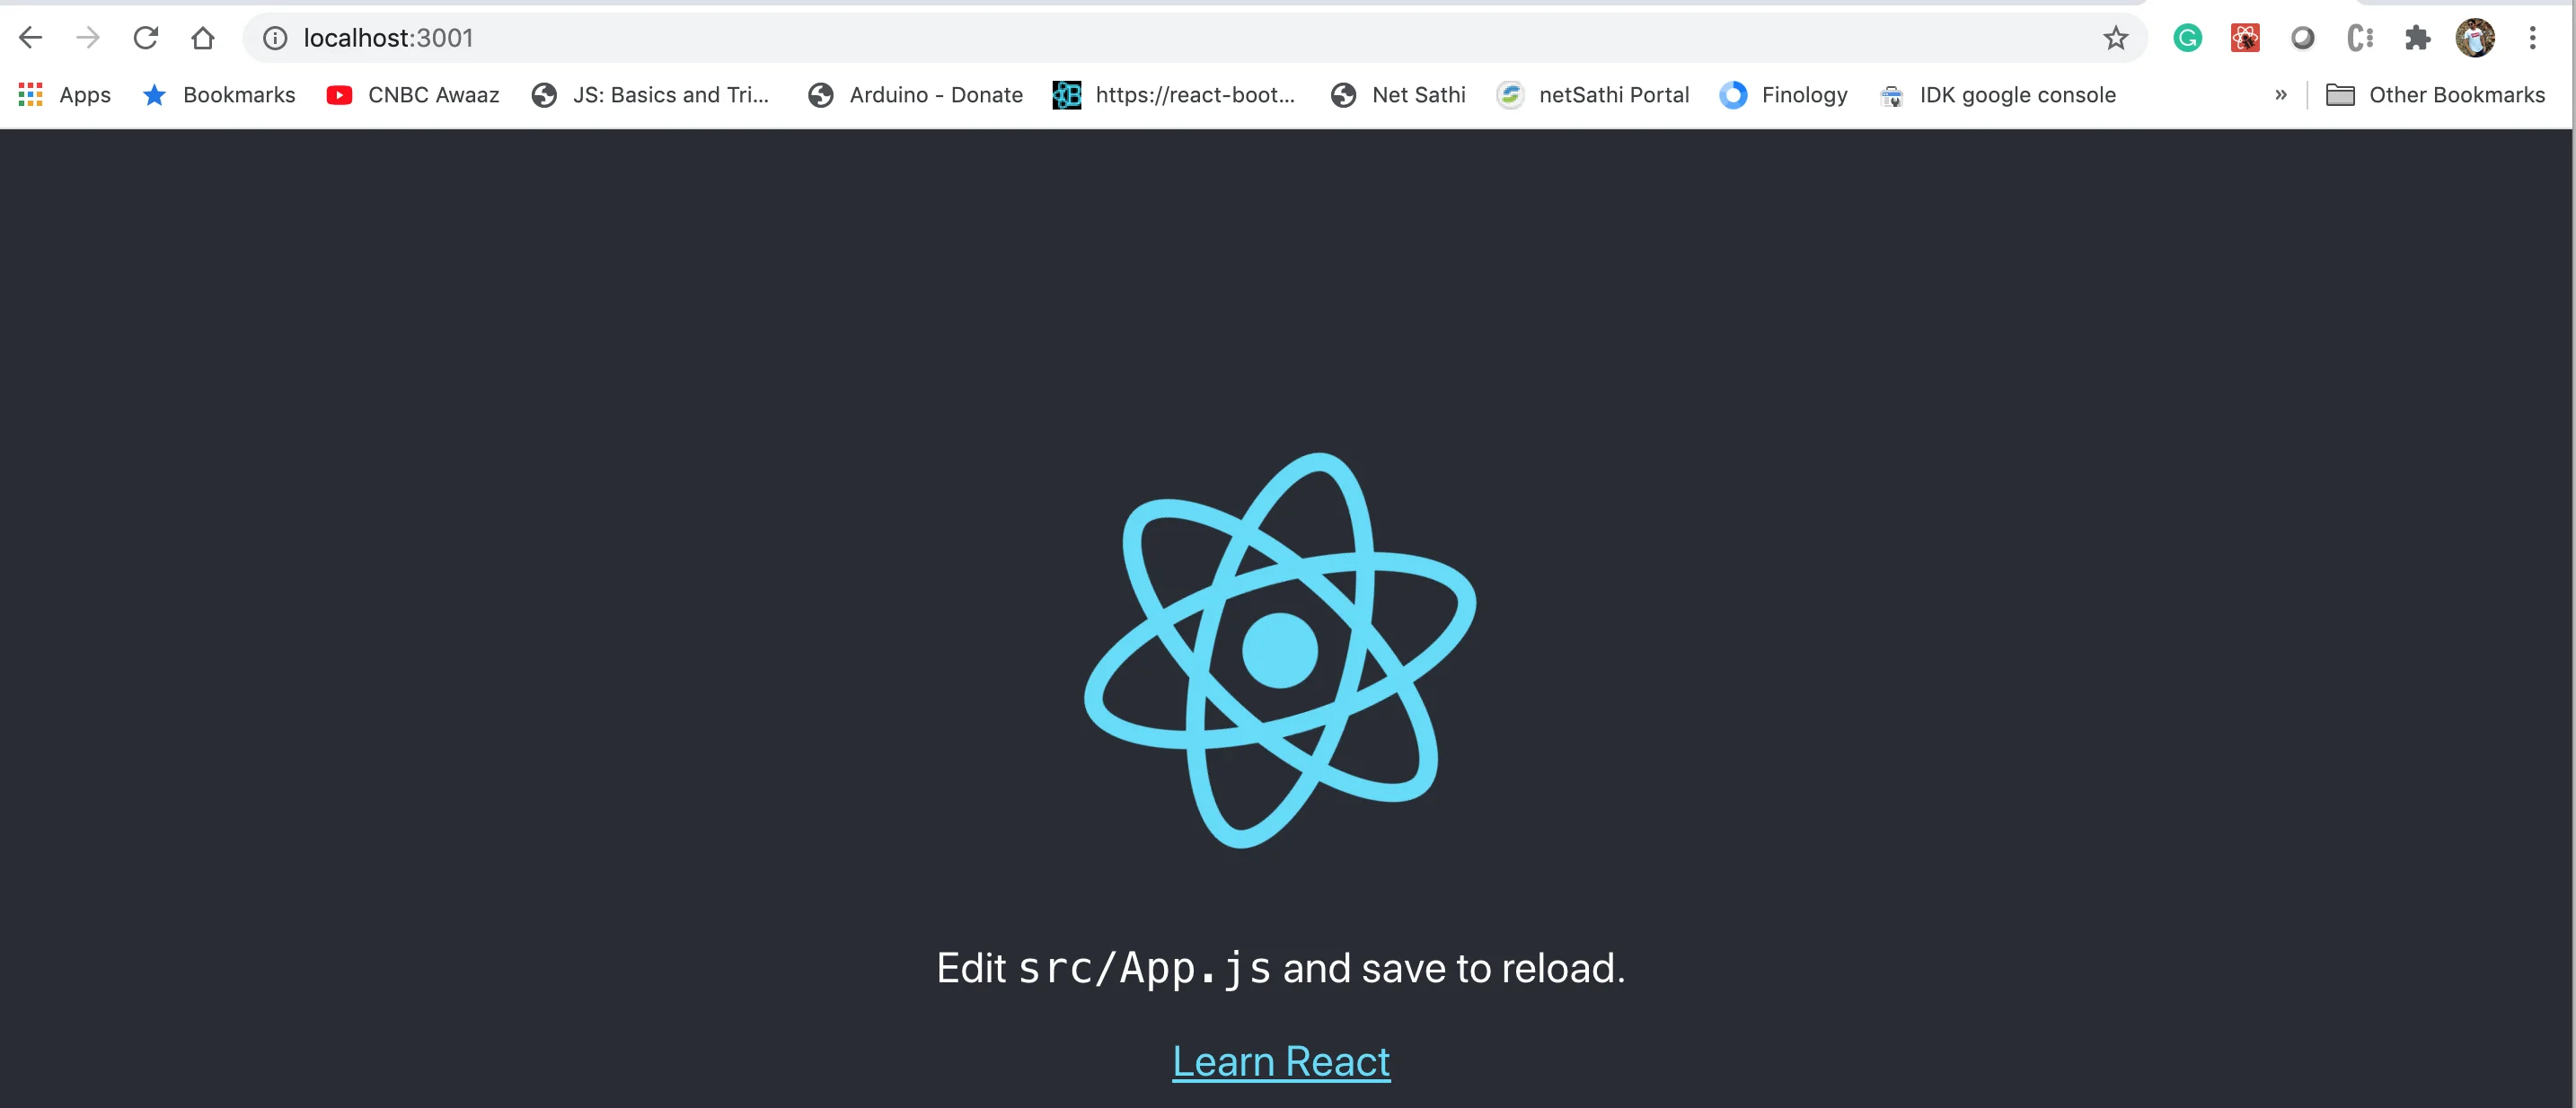
How to use Storybook to write Test Case for React Component?
Now, our demo React app is running. Let's see how we can use Storybook.Setup Storybook:
In this step, we need to create a folder name .storybook on root location.Then create a file main.js and write the below codes inside the main.js:
Now, create a file name preview.js inside the .storybook folder.
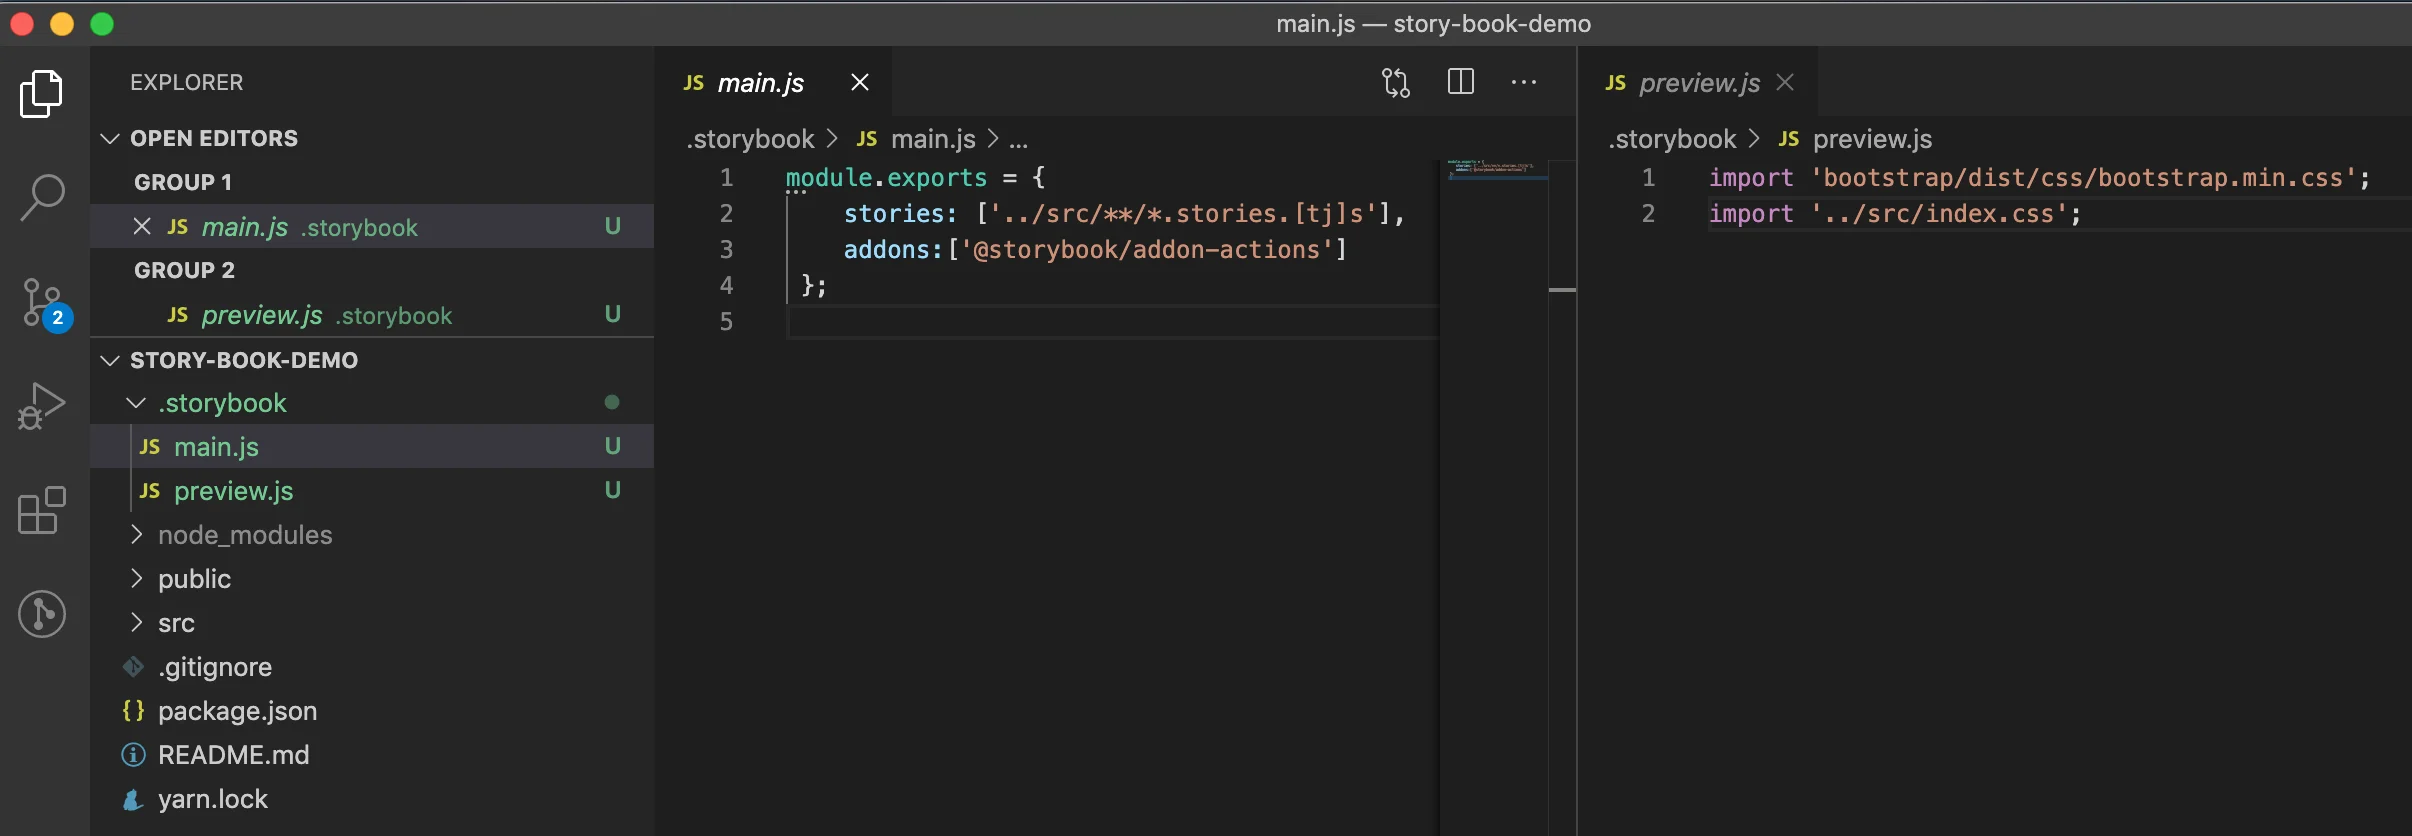
How to use Storybook to write Test Case for React Component?
Setup your Component:
Now, we'll write our components for our React app.To do this, create a folder name components inside src folder. Now create a file name Button.component.js inside the components folder.
Now write the below codes inside the file Button.component.js:
Button.component.js ( src->components->button->Button.component.js ):
Till now, we have created a component name Button. Now its time to create the stories for this component, to test the component.
Create Story for the component:
In this step, we'll create stories to test the Button component. To do this, create a file name Button.stories.js inside the folder button (src->components->button->Button.stories.js).Inside the file "Button.stories.js", write the below codes:
We can add many more scenarios into this Button component and test it with these given scenarios. The above code has 3 scenarios that we will test in the next step.
Add Script to start Storybook:
In this step, we need to add the below command to start the Storybook. To do this add below script in package.json file.Install the dev dependencies:
In this, we need to install the dev dependencies for the Storybook, to do this run the below command:
How to use Storybook to write Test Case for React Component?
After the installation, our package.json will look like this:Run the Stroybook:
We have created a React demo app, we have done with the Storybook setup, we have created our component, we have created story for our component then we have added our script to start our Storybook, Now it's time to run the storybook.To start the Storybook, run the below command.
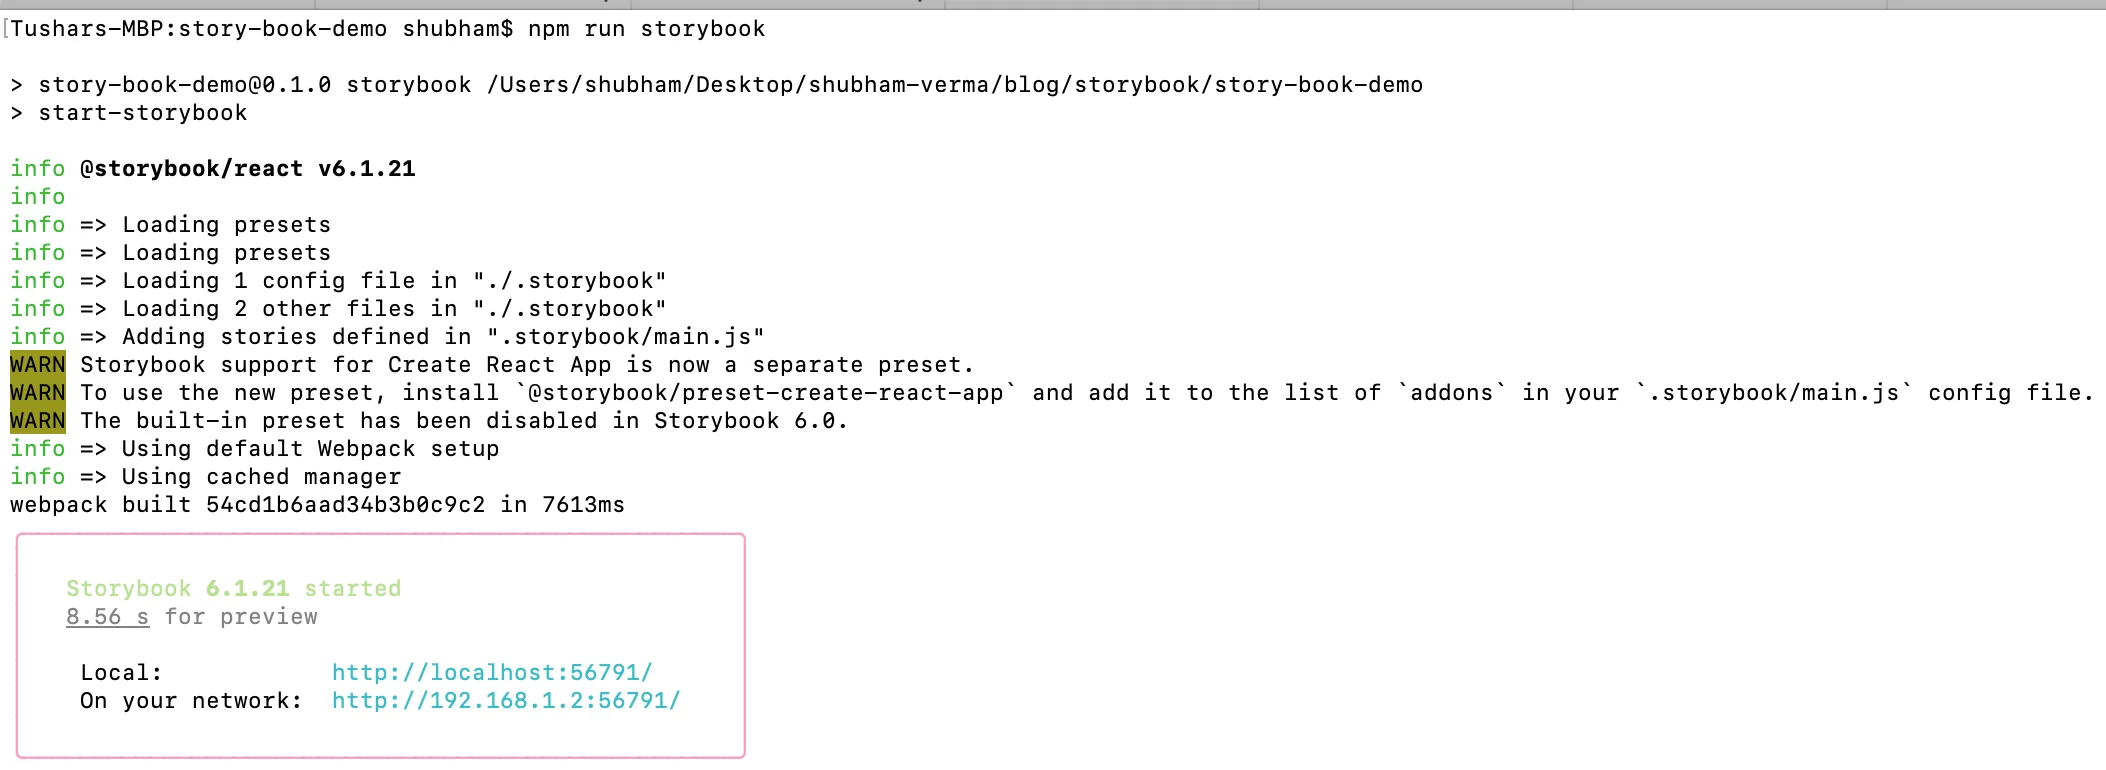
How to use Storybook to write Test Case for React Component?
As you see, in the above snapshot, you need to opne the URL http://localhost:{PORT_FROM_ABOVE_SCREEN}/?path=/story/button--text and see the result.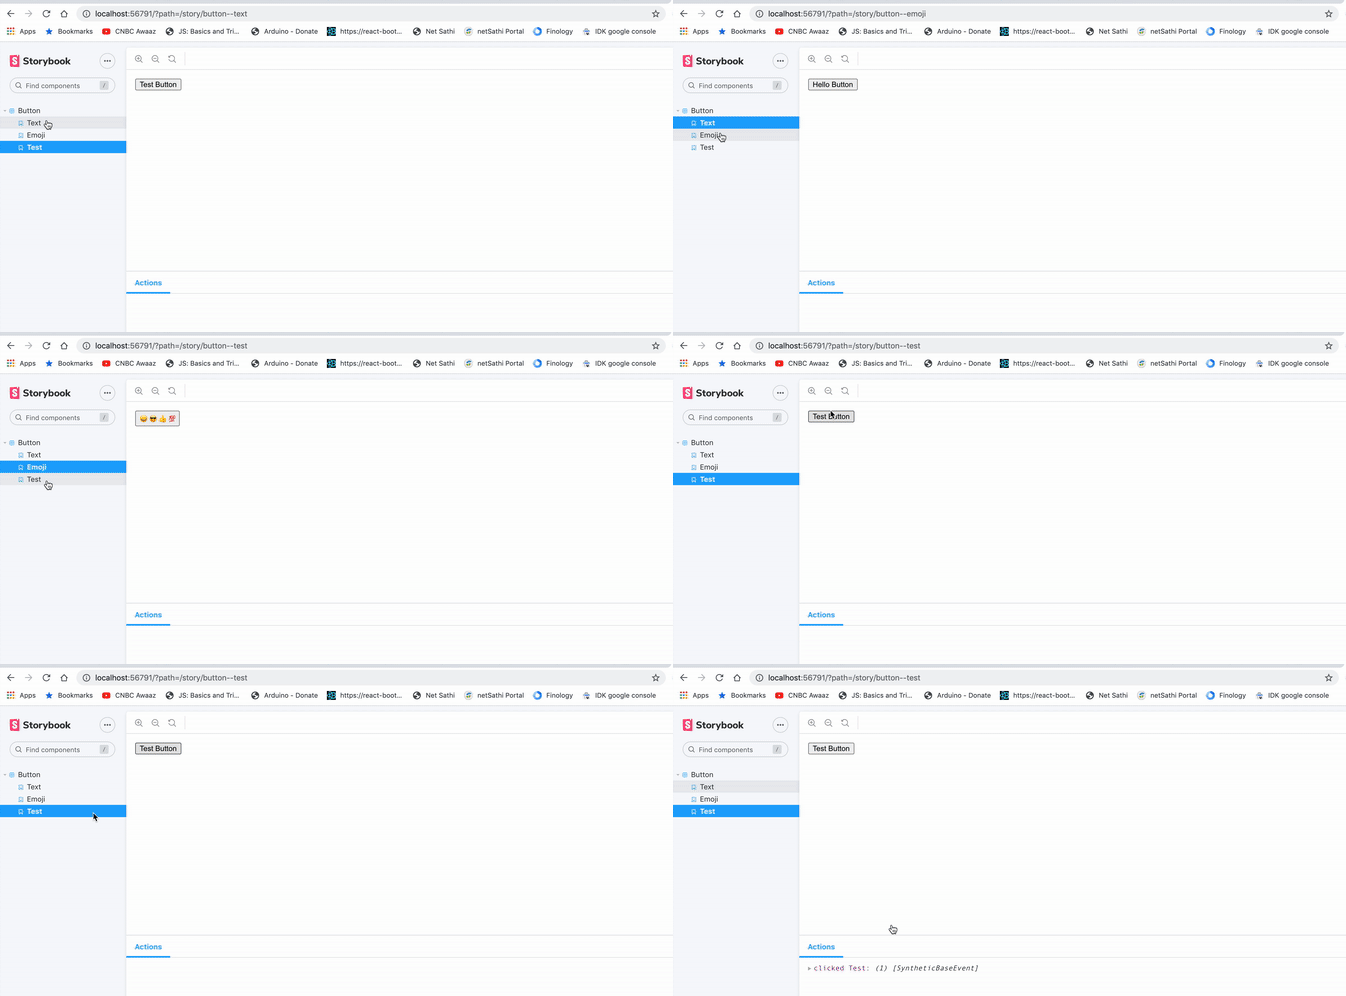
How to use Storybook to write Test Case for React Component?
Conclusion:
In this article, We have created a React demo app, we have done with the Storybook setup, we have created our component, we have created the story for our component then we have added our script to start our Storybook, we have run the storybook with multiple scenarios.Support our IDKBlogs team
Creating quality content takes time and resources, and we are committed to providing value to our
readers.
If you find my articles helpful or informative, please consider supporting us financially.
Any amount (10, 20, 50, 100, ....), no matter how small, will help us continue to produce
high-quality content.
Thank you for your support!
Thank you
I appreciate you taking the time to read this article. The more that you read, the more things you will know. The more that you learn, the more places you'll go.
If you’re interested in Node.js or JavaScript this link will help you a lot.
If you found this article is helpful, then please share this article's link to your friends to whom this is required, you can share this to your technical social media groups also.
You can follow us on our social media page for more updates and latest article updates.
To read more about the technologies, Please
subscribe us, You'll get the monthly newsletter having all the published
article of the last month.

