In this article, we will learn how we can implement drag and drop in angular2+ application. In this we will learn
from scratch. Let's get started.
Implement Drag and Drop in Angular 2/4/5/6 application
Step 1: Create an Angular2+ application:
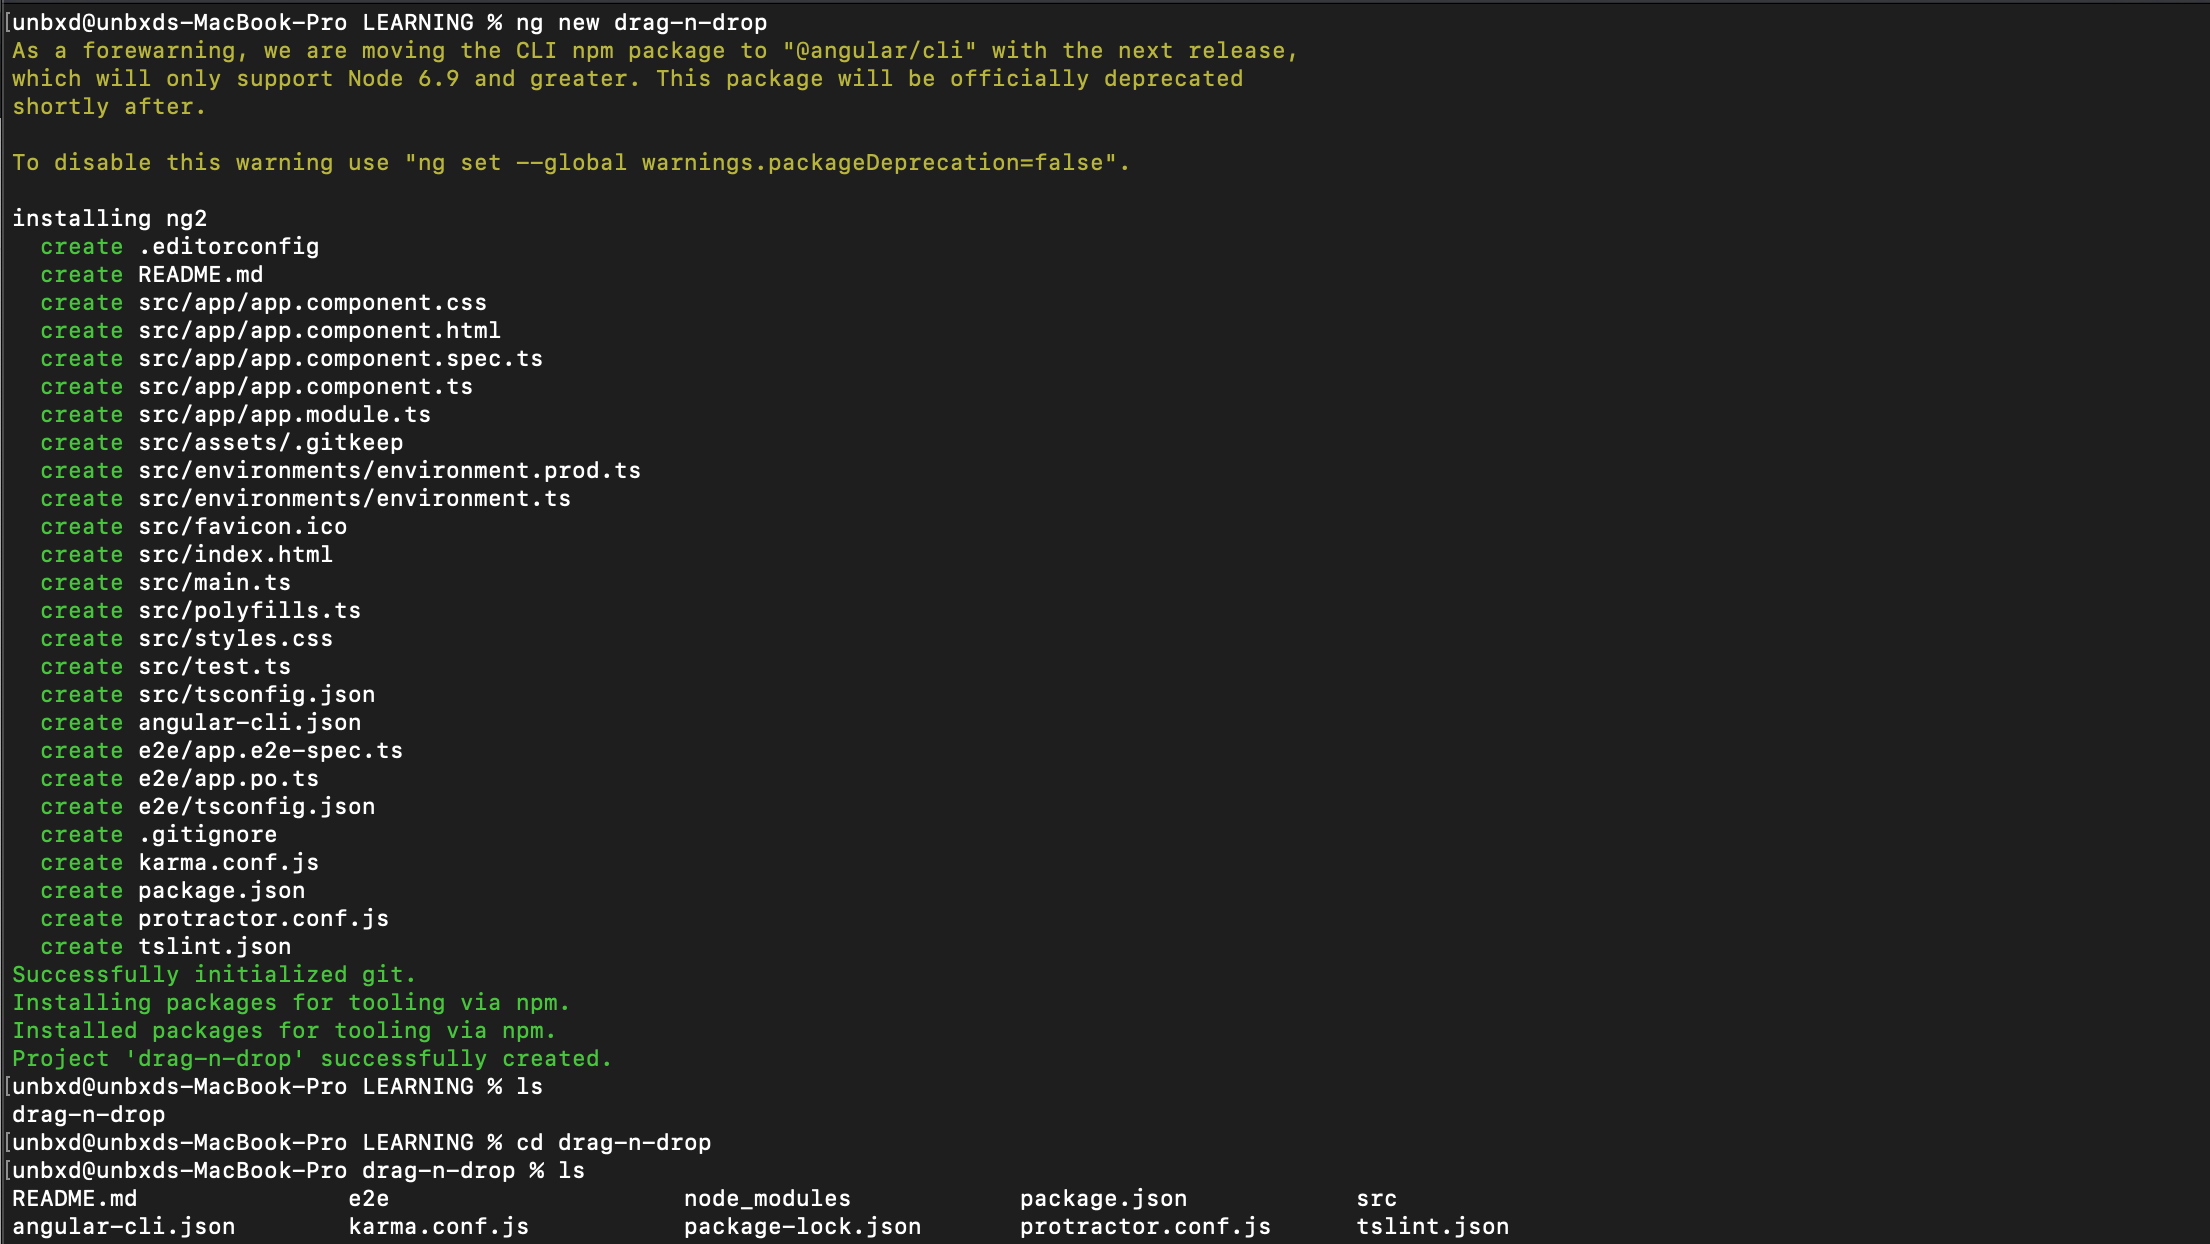
In this step we will create an Angular2+ application: using "ng new", to create an app run the following command:
                        ng new drag-n-drop
                        cd drag-n-drop
For more understanding, see in the below snapshot:

Source: idkblogs.com
Step 2: Run the app:
In this step, we will ensure that our newly created app should working fine. To do this let's start the app using below command.
npm start
Source: idkblogs.com
After the above command, Open the browser and hit URL "localhostL:4200" and see the result as in the below snapshot:


Source: idkblogs.com
Step 3: Write code to implement drag and drop:
Go to the file "src/app/app.component.ts" in newly created angular app "drag-n-drop" and delete all codes and write the below codes:
                    import { Component } from '@angular/core';

                    @Component({
                      selector: 'drag-root',
                      templateUrl: './drag.component.html',
                      styleUrls: ['./drag.component.css']
                    })
                    export class AppComponent {

                      allowDrop(ev) {
                        ev.preventDefault();
                      }

                      drag(ev) {
                        ev.dataTransfer.setData("text", ev.target.id);
                      }

                      drop(ev) {
                        ev.preventDefault();
                        var data = ev.dataTransfer.getData("text");
                        ev.target.appendChild(document.getElementById(data));
                      }
                    }
Now go to the file "app.component.html" and delete all codes and write below codes:
Now let's write the css for our component, go to the file "app.component.css" and write the below codes:
                            #div1, #div2 {
                              float: left;
                              width: 100px;
                              height: 35px;
                              margin: 10px;
                              padding: 10px;
                              border: 1px solid black;
                          }
Let's run the app and see the browser:
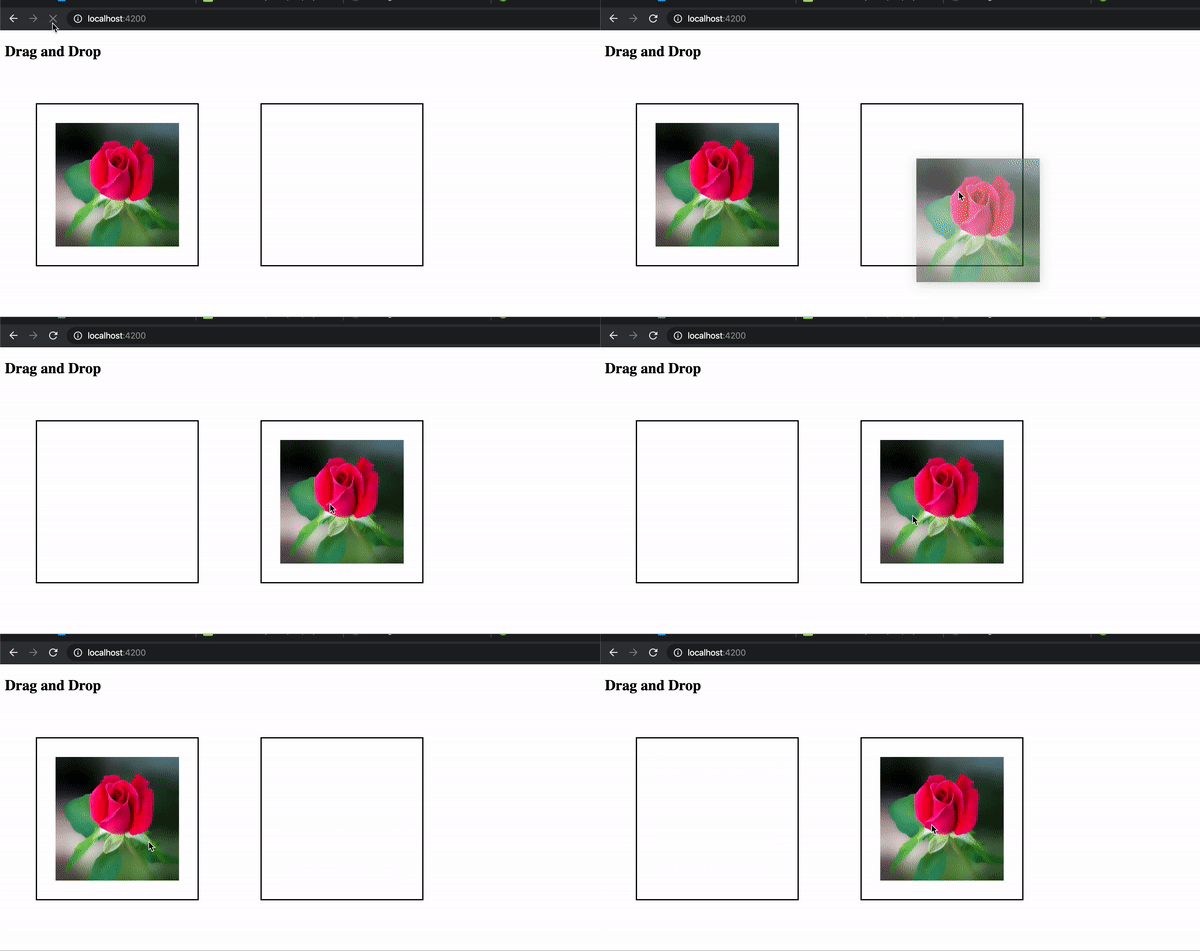
Now you can play with your component, do your drag and drop functionality as in below gif:

Source: idkblogs.com
Congratulations.. You did it.
Conclusion:
In this article, we learned how we can create a fresh angular2+ app using angular cli and how we can implement drag and drop functionality.
Support our IDKBlogs team
Creating quality content takes time and resources, and we are committed to providing value to our
readers.
If you find my articles helpful or informative, please consider supporting us financially.
Any amount (10, 20, 50, 100, ....), no matter how small, will help us continue to produce
high-quality content.
Thank you for your support!
Thank you
I appreciate you taking the time to read this article. The more that you read, the more things you will know. The more that you learn, the more places you'll go.
If you’re interested in Node.js or JavaScript this link will help you a lot.
If you found this article is helpful, then please share this article's link to your friends to whom this is required, you can share this to your technical social media groups also.
You can follow us on our social media page for more updates and latest article updates.
To read more about the technologies, Please
subscribe us, You'll get the monthly newsletter having all the published
article of the last month.


